What Size Air Compressor Do You Need to Blow Out Sprinklers
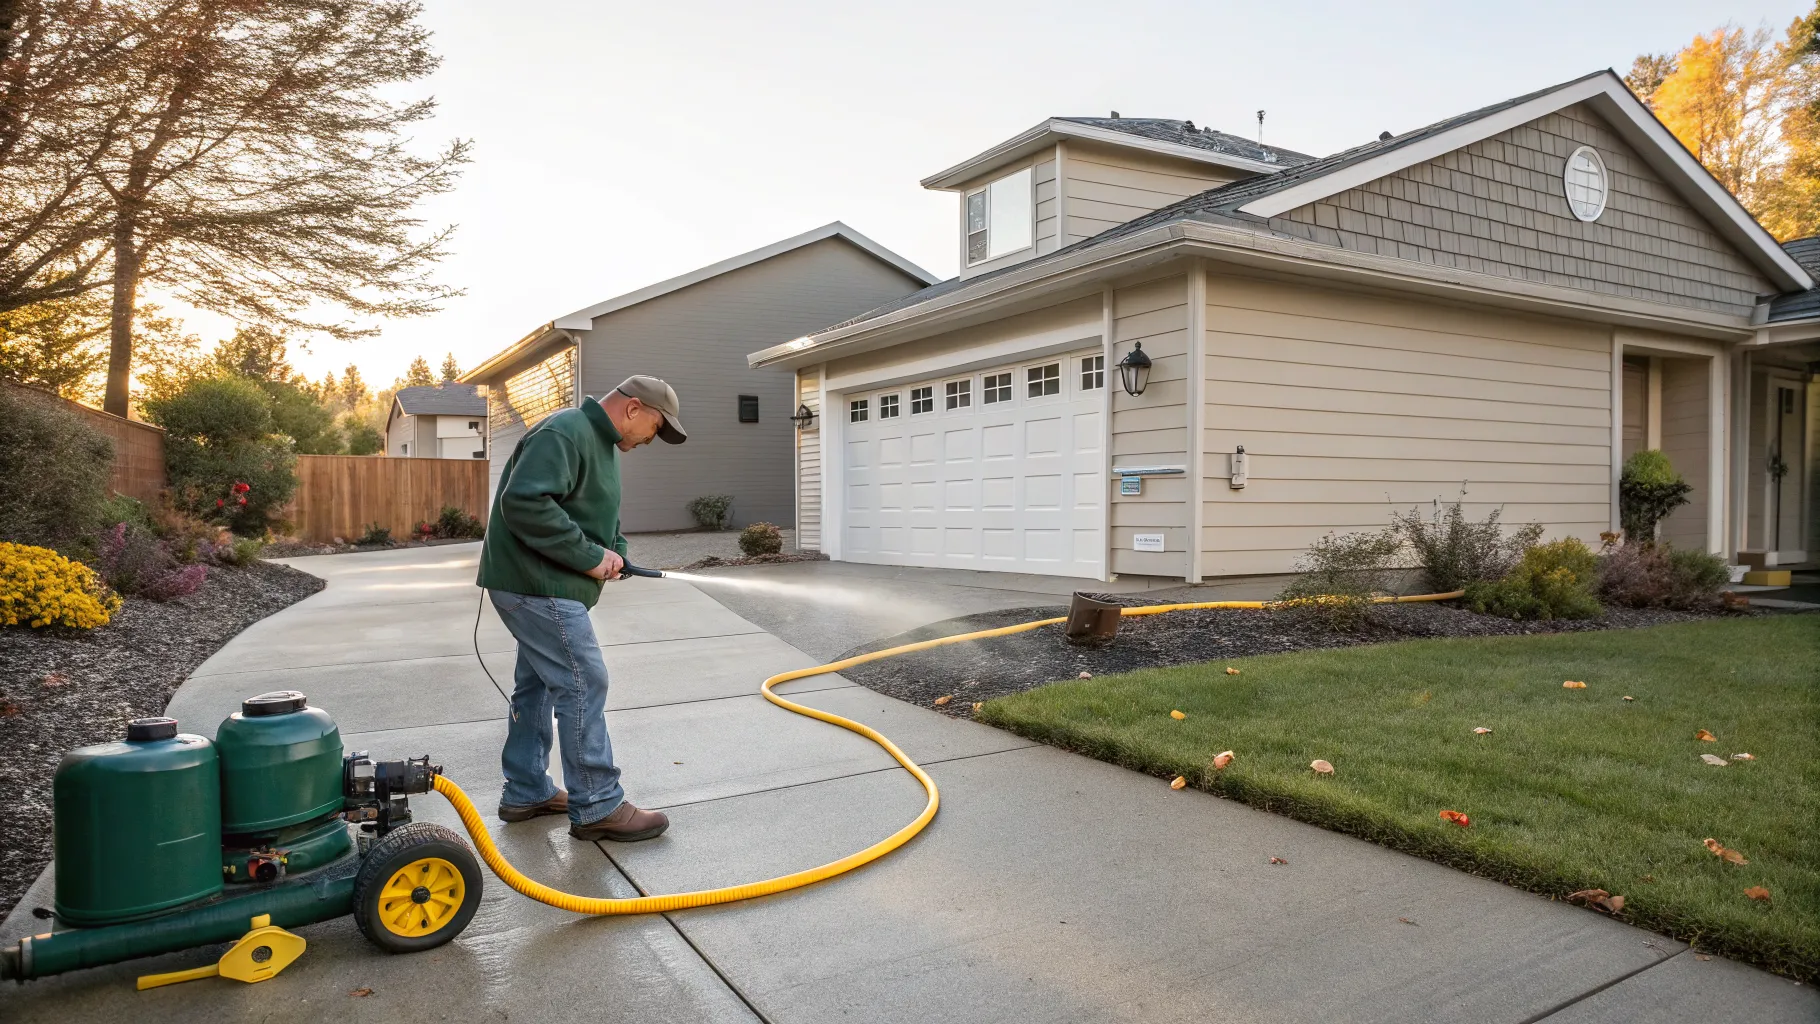
Here is the part most articles dance around: the volume of air your compressor moves (CFM) clears the lines, not the pressure (PSI) printed on the tank. A typical 6-gallon pancake compressor reads 150 PSI on its gauge, which looks plenty, but it only pushes about 2.6 SCFM of air. Sprinkler blowout wants somewhere in the range of 30 to 50 CFM. That gap, roughly ten times short on volume, is why so many homeowners stand in the yard for two hours wondering why the lines still spit water.
This guide gives you the real numbers: how much CFM you actually need, how to size it from your zone flow with a simple formula, the pressure limits that keep your pipes from cracking, and an honest read on whether the compressor already in your garage can do the job.
The short answer on size
For a typical residential irrigation system, target 30 to 50 CFM. Most irrigation pros lean toward the upper end, at least 50 CFM, for fast and thorough work. You can get away with as little as 20 CFM, but it will be slow and you will run multiple passes per zone.
Pressure is a separate question, and it is a safety cap rather than a power setting:
| Pipe material | Maximum PSI |
|---|---|
| Rigid PVC | 80 PSI |
| Flexible black poly (polyethylene) | 50 PSI |
| Conservative setting for any system | 50 PSI or below |
These pressure limits come straight from Rain Bird, the irrigation manufacturer. You set them on the compressor’s regulator before you ever open air into the system. More pressure does not clear the lines faster; it only raises the odds of splitting a fitting or popping a glued joint.
So the headline is two numbers working together: high CFM to move the water, low and capped PSI to protect the pipe.
Why CFM matters and PSI doesn’t (the part most pages skip)
Think of clearing a sprinkler line like emptying a long straw of water. Pressure is the push at one end. Volume is how much air is available to keep pushing as the water travels the full run and out through every head on the zone.
A pancake compressor can build 150 PSI, but it stores that in a tiny tank and refills slowly. Open a valve and the stored air dumps out in a few seconds, pressure collapses, and the motor has to grind back up while water sits in the pipe. You get a burst, then a wait, then another burst. A 30 to 50 CFM machine, by contrast, sustains the airflow long enough to walk the water all the way out in one continuous push.
If you only remember one thing: ignore the big PSI number on a shop compressor’s label and look at its CFM rating instead. That single habit also helps with choosing an air compressor for almost any job, since CFM is the spec that actually determines what a compressor can run.
Size it from your zone flow: the GPM-to-CFM formula
Irrigation pros size blowout compressors off the flow rate of the zone, not guesswork. The formula is straightforward:
Required CFM = highest-flow zone’s GPM ÷ 7.5
You size to your largest single zone, because blowout is always done one zone at a time, never the whole system at once. Here is the conversion table, sourced from VMAC’s irrigation flow data:
| Zone flow (GPM) | CFM needed |
|---|---|
| 150 | 20 |
| 225 | 30 |
| 300 | 40 |
| 375 | 50 |
| 525 | 70 |
| 750 | 100 |
Worked example: a zone running 225 GPM divided by 7.5 equals 30 CFM.
Now translate that to a normal house. Most residential zones run closer to 10 to 20 GPM, which sits well below the lowest row in the table. That is exactly why a true 30 to 50 CFM machine clears a home zone almost instantly, and why a pancake compressor struggles even though the math says a home zone “only” needs a handful of CFM. The table is built for dense commercial systems, but it explains the gap perfectly: real airflow demand is modest, and small compressors still cannot meet it consistently.
For deeper sizing logic that applies beyond sprinklers, see our guide on what size air compressor you need.
Will the compressor you already own work?
Let’s be honest about the machine in your garage, because this is where most guides go quiet.
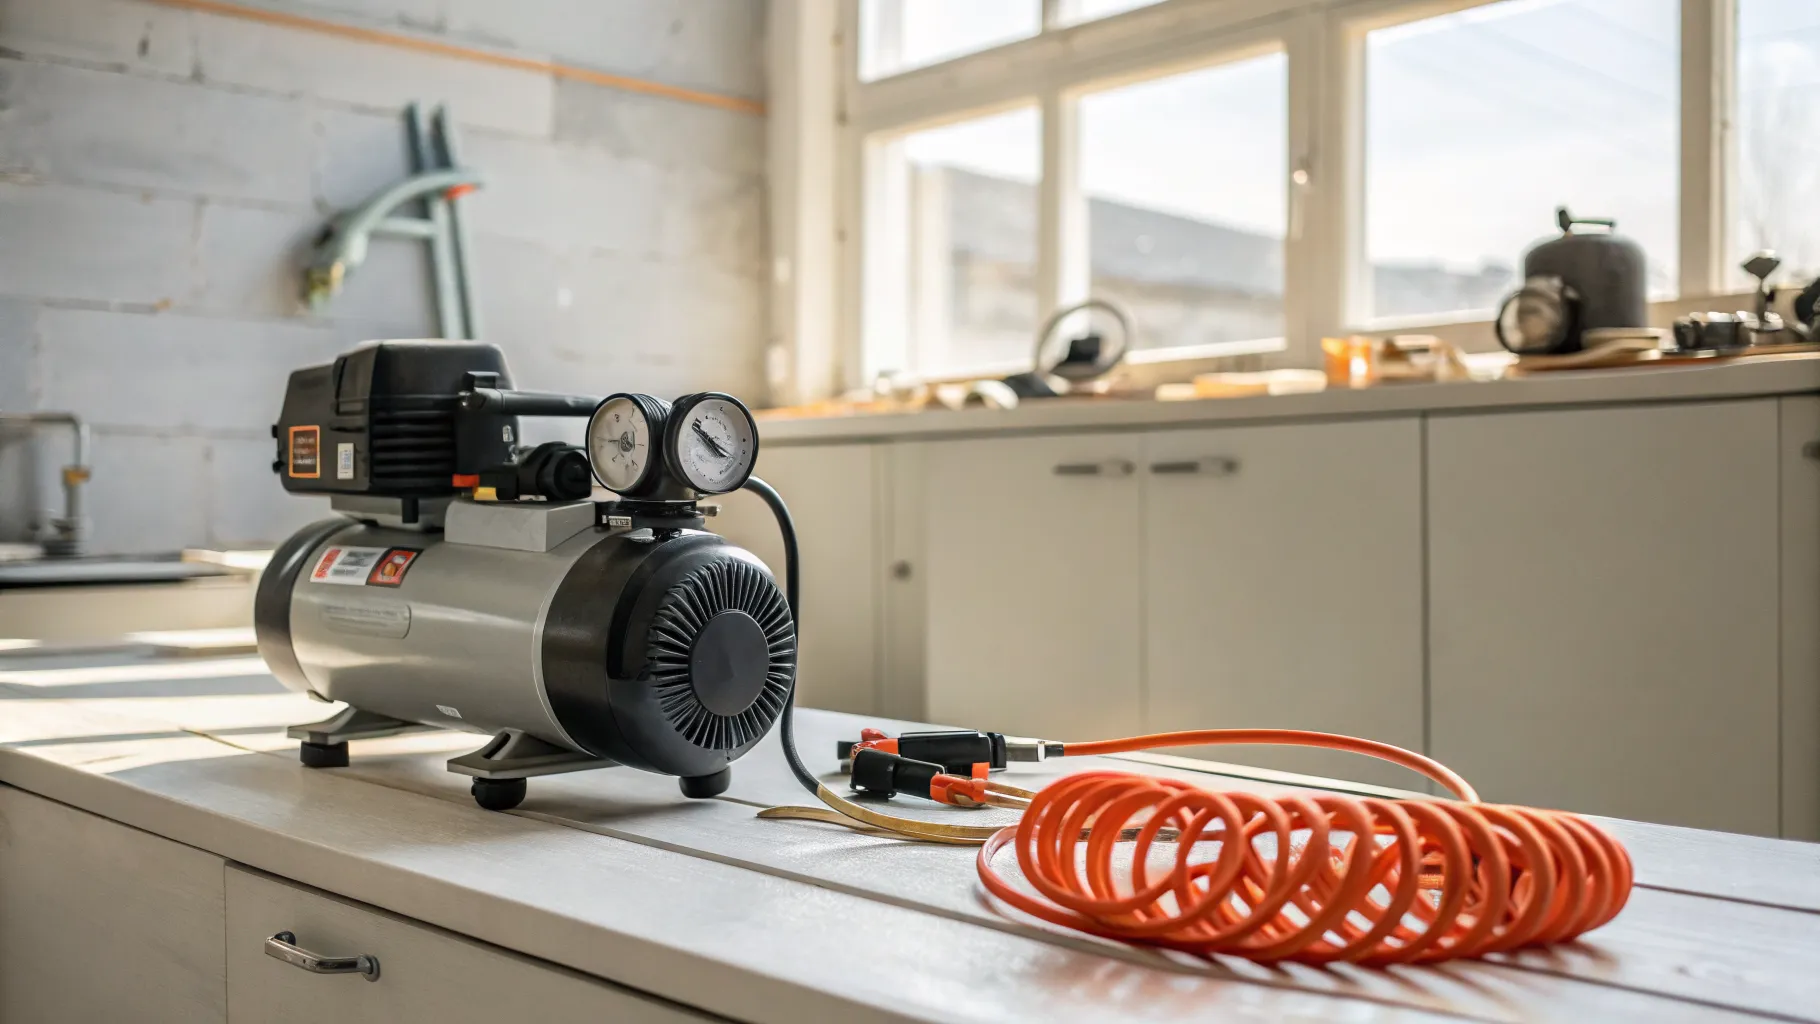
A standard homeowner pancake or portable shop compressor, the 6-gallon, roughly 150 max PSI unit putting out about 2.6 SCFM at 90 PSI, is far below the 20 to 50 CFM target. It is short on volume by close to an order of magnitude. Real-world reports back this up: owners describe spending a couple of hours on a four-zone system with a 6-gallon pancake and concluding they simply needed a bigger compressor. The tank empties before a zone clears, then takes a few minutes to recharge.
That said, a small compressor can be made to work on a small system if you accept the trade-off in time:
- Do strictly one zone at a time.
- Run multiple passes per zone. Apply air, let the tank refill, repeat until the heads blow only air and mist instead of water.
- Consider teeing in an auxiliary air tank to give each burst more usable volume before the motor has to cycle.
The root cause is tank size and duty cycle. A small 1 to 5 gallon tank forces the motor to cycle constantly and cannot sustain CFM. That is the whole reason small units struggle, and it points to your three real options: buy a capable high-CFM unit, rent one, or supplement your small unit with an extra tank and a lot of patience.
Tank size and compressor type
The kind of compressor matters as much as the headline CFM:
- Reciprocating (piston) compressors need a receiver tank to sustain usable air, since their output drops as the tank empties. VMAC notes tanks in the 10 to 50 gallon range to hold CFM steady for a few minutes.
- Rotary screw compressors run at a 100 percent duty cycle and generally do not need a receiver tank at all. This is the tow-behind unit professional landscapers pull from job to job.
If you are shopping, weigh tank capacity alongside CFM. Our roundup of portable air compressors covers the trade-offs between tank size, portability, and sustained output.
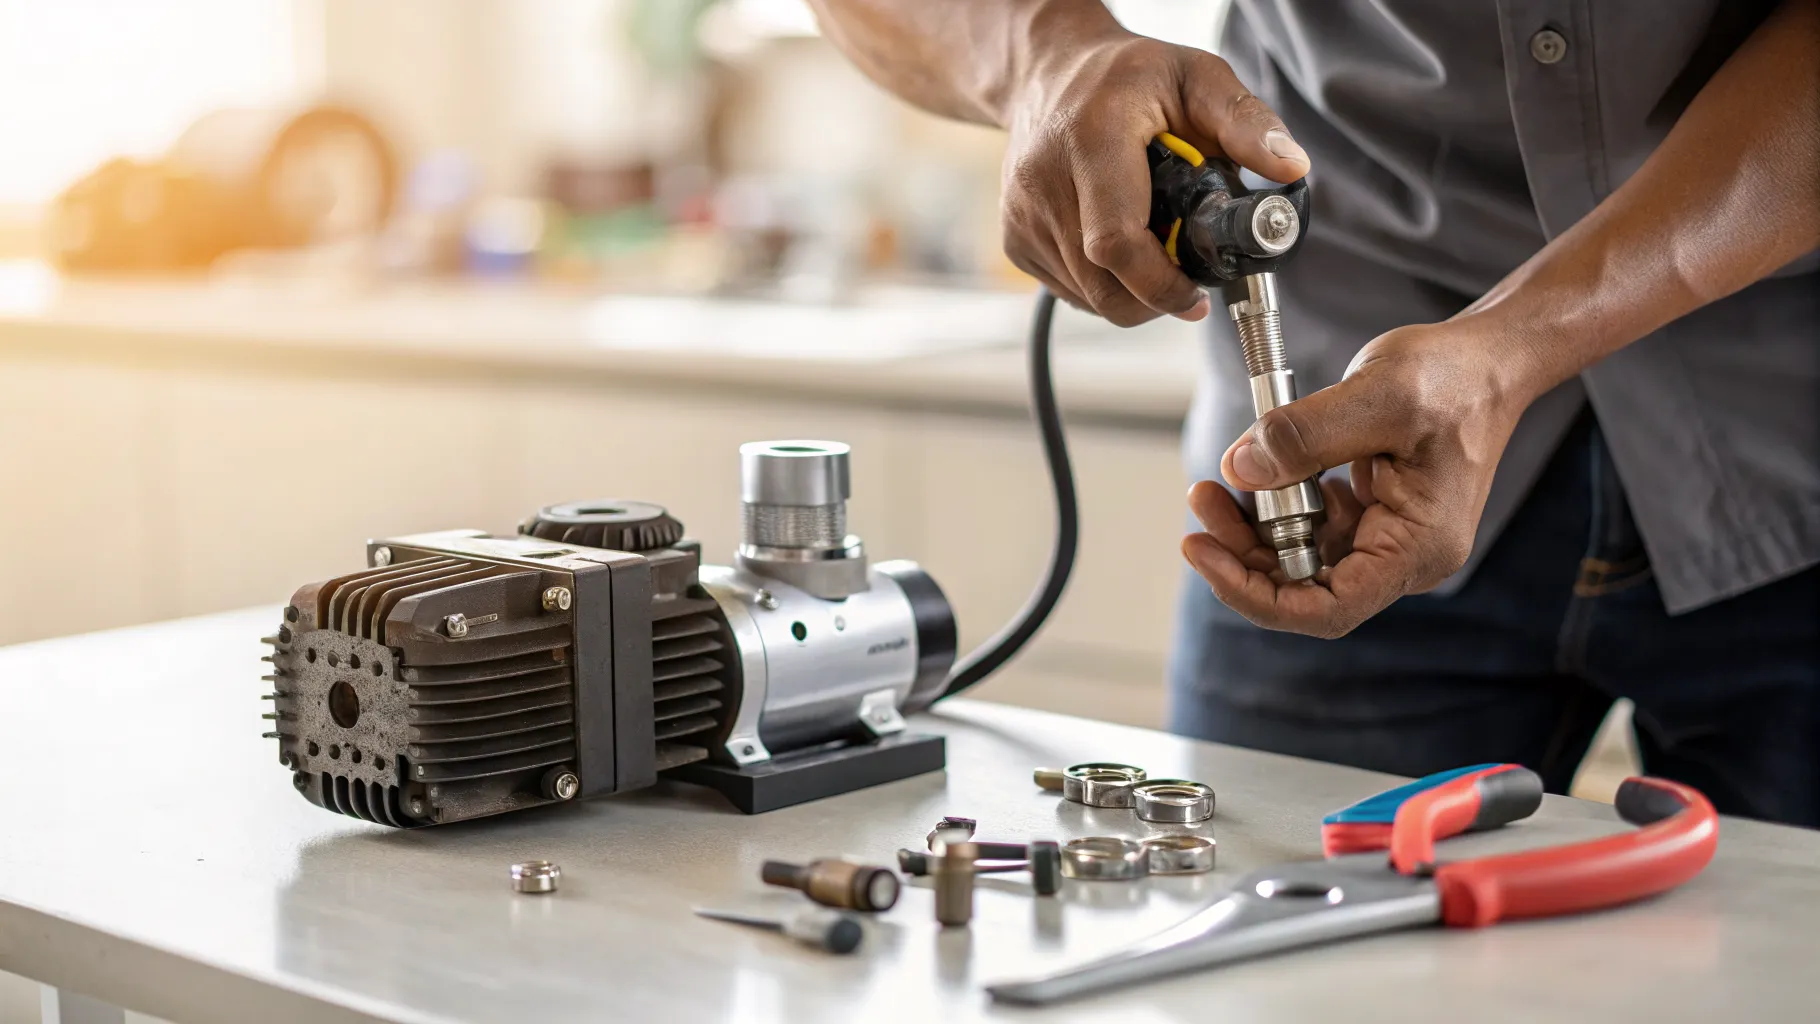
Fittings: connecting to the system
Getting air into the system is the snag that derails more DIY blowouts than anything else, and most guides hand-wave it with “connect the hose.”
The North American standard compressor coupler is the 1/4-inch industrial-interchange quick-connect plug. Most irrigation systems have a dedicated blow-out port, a quick-connect fitting located downstream of the backflow preventer. To bridge the two, the common solution is a blowout adapter that mates 3/4-inch garden-hose thread (GHT) to a 1/4-inch quick-connect plug, ideally one with a built-in shutoff valve so you can control air flow at the fitting.
If your system has no dedicated port, your options are the backflow preventer’s test port, the mainline drain, or a riser left open after removing a sprinkler head. Field note: some setups force you to adapt from a larger union at the backflow down to a smaller line with a ball valve and quick-connect. Fitting up to the backflow port is the number one practical snag DIYers hit, so sort the adapter chain before winterization day, not during it.
Confirm the thread sizes match your port before buying an adapter, since irrigation fittings vary from system to system.
The blowout procedure, step by step
- Shut off the irrigation water supply at the main, and set the backflow preventer’s isolation and test cocks appropriately.
- Connect the compressor downstream of the backflow preventer, at the blow-out port if you have one, or a test port, mainline drain, or open riser if you don’t.
- Set the regulator to your pipe’s maximum PSI (80 for PVC, 50 for poly) before introducing any air. Start low.
- Open one zone, starting with the zone farthest from the compressor and working inward. Activate that zone at the controller so its valve is open as you introduce air.
- Apply air for two minutes maximum per zone. Watch the heads pop up and spray; stop once they blow mostly air and mist instead of water.
- Between zones, turn the compressor off and let air fully purge from both the tank and the system before moving to the next valve.
- Repeat for every zone. On an underpowered compressor, run several passes per zone rather than one long blast.
- Disconnect and leave the system depressurized for the winter.
Safety rules you cannot skip
These come from Rain Bird and the trade sources, and they protect both you and your system:
- Never exceed two minutes of continuous air on a single zone or circuit. Compressed air generates heat, and with no water moving through to cool them, the plastic gears and internals inside sprinkler heads and valves can melt or warp. That is the mechanism behind the rule, which is why it is worth respecting rather than guessing.
- Never stand over sprinkler heads, valves, or pipes during blowout. A head can launch under pressure.
- Wear eye protection. Goggles, every time.
- Stop blowing once water stops coming out. Running dry and hot stresses already-clean pipe for no benefit.
- A gas-powered compressor is safer than electric near a wet system. No shock risk, and it goes anywhere without a cord or outlet.
You can read Rain Bird’s own guidance on safe blowout technique in their sprinkler blow-out guide, and VMAC’s compressor sizing breakdown walks through the GPM math in more detail.
DIY, rent, or hire: making the call
A professional blowout typically costs a modest service fee that scales with zone count, with small systems at the cheaper end and large ones higher. Check current local pricing, since it shifts by region and season.
Here is the decision that actually fits the numbers:
| Your situation | Best move |
|---|---|
| Small system, you already own a capable or supplementable compressor | DIY |
| Small system, only a pancake compressor | DIY with patience, or hire |
| Large or commercial system | Rent a tow-behind, or hire a pro |
| No compressor and no desire to buy one | Hire, or rent for the day |
The honest framing: if a season of professional blowout costs far less than a capable 30 to 50 CFM compressor, buying a machine only for sprinkler blowout rarely pencils out. Renting a high-CFM tow-behind for a single day is often the smartest path, a point most “just buy a compressor” articles skip. DIY makes the most sense when you already own a big-enough unit, have a small system you can clear with multiple passes, or want the compressor for other work anyway.
Frequently asked questions
What size air compressor do I need to blow out my sprinklers? Aim for 30 to 50 CFM for a typical residential system, with at least 50 CFM if you want it fast and thorough. The absolute minimum that still works is around 20 CFM. Keep pressure capped at 80 PSI for PVC and 50 PSI for poly pipe.
Will a pancake or 6-gallon compressor blow out my sprinklers? On a small system, yes, but slowly and with patience. A 6-gallon pancake puts out only about 2.6 SCFM versus the 20-plus CFM the job ideally wants. You will work one zone at a time, run multiple passes, and possibly add an auxiliary tank. It is not efficient, but it can clear a small system.
What PSI should I use to blow out sprinklers? Stay at or below 80 PSI for rigid PVC and at or below 50 PSI for flexible black poly pipe. Many pros keep it under 50 PSI across the board for safety. Pressure does not clear the line, so there is no benefit to running it high, only the risk of cracked pipe.
How long do you blow out each zone? Two minutes maximum per pass. Stop as soon as the heads blow only mist or air instead of water. Going longer with no water to cool the components can melt or warp the plastic internals in your sprinkler heads and valves. For pressure-setting basics, see how to adjust your compressor’s pressure switch.
Can I blow out the whole system at once? No. Even with a large compressor, you blow out one zone at a time. A single compressor cannot supply enough volume to clear every zone simultaneously, and working zone by zone is how you confirm each line is actually clear.
Where do I connect the compressor? At the blow-out port, a quick-connect fitting downstream of the backflow preventer. If there is no dedicated port, use the backflow preventer’s test port, the mainline drain, or a riser left open after removing a sprinkler head.
Can high pressure crack my pipes? Yes, and that is the entire reason to cap PSI on the regulator before you start. Exceeding the pipe’s pressure rating can split fittings or joints, and running air longer than two minutes per zone can melt sprinkler internals from heat.
Should I hire a pro or do it myself? Hiring is straightforward and modestly priced for a season. DIY is worth it mainly if you already own or can rent a compressor large enough for the job, or if your system is small enough to clear with multiple passes on a smaller unit. For a large system, renting a tow-behind or hiring is usually smarter than buying.
More from Air Compressor Mag
Best Portable Air Compressors: Picks by Job (2026)
Real portable air compressor picks by job, from tire inflation to framing, with the CFM at 90 PSI, tank size, and noise specs that actually decide it.
Air Compressor Repair: Fix It by Symptom
Symptom-based air compressor repair: won't build pressure, won't start, won't shut off, trips the breaker, leaks, or oil in the line. Safe fixes.
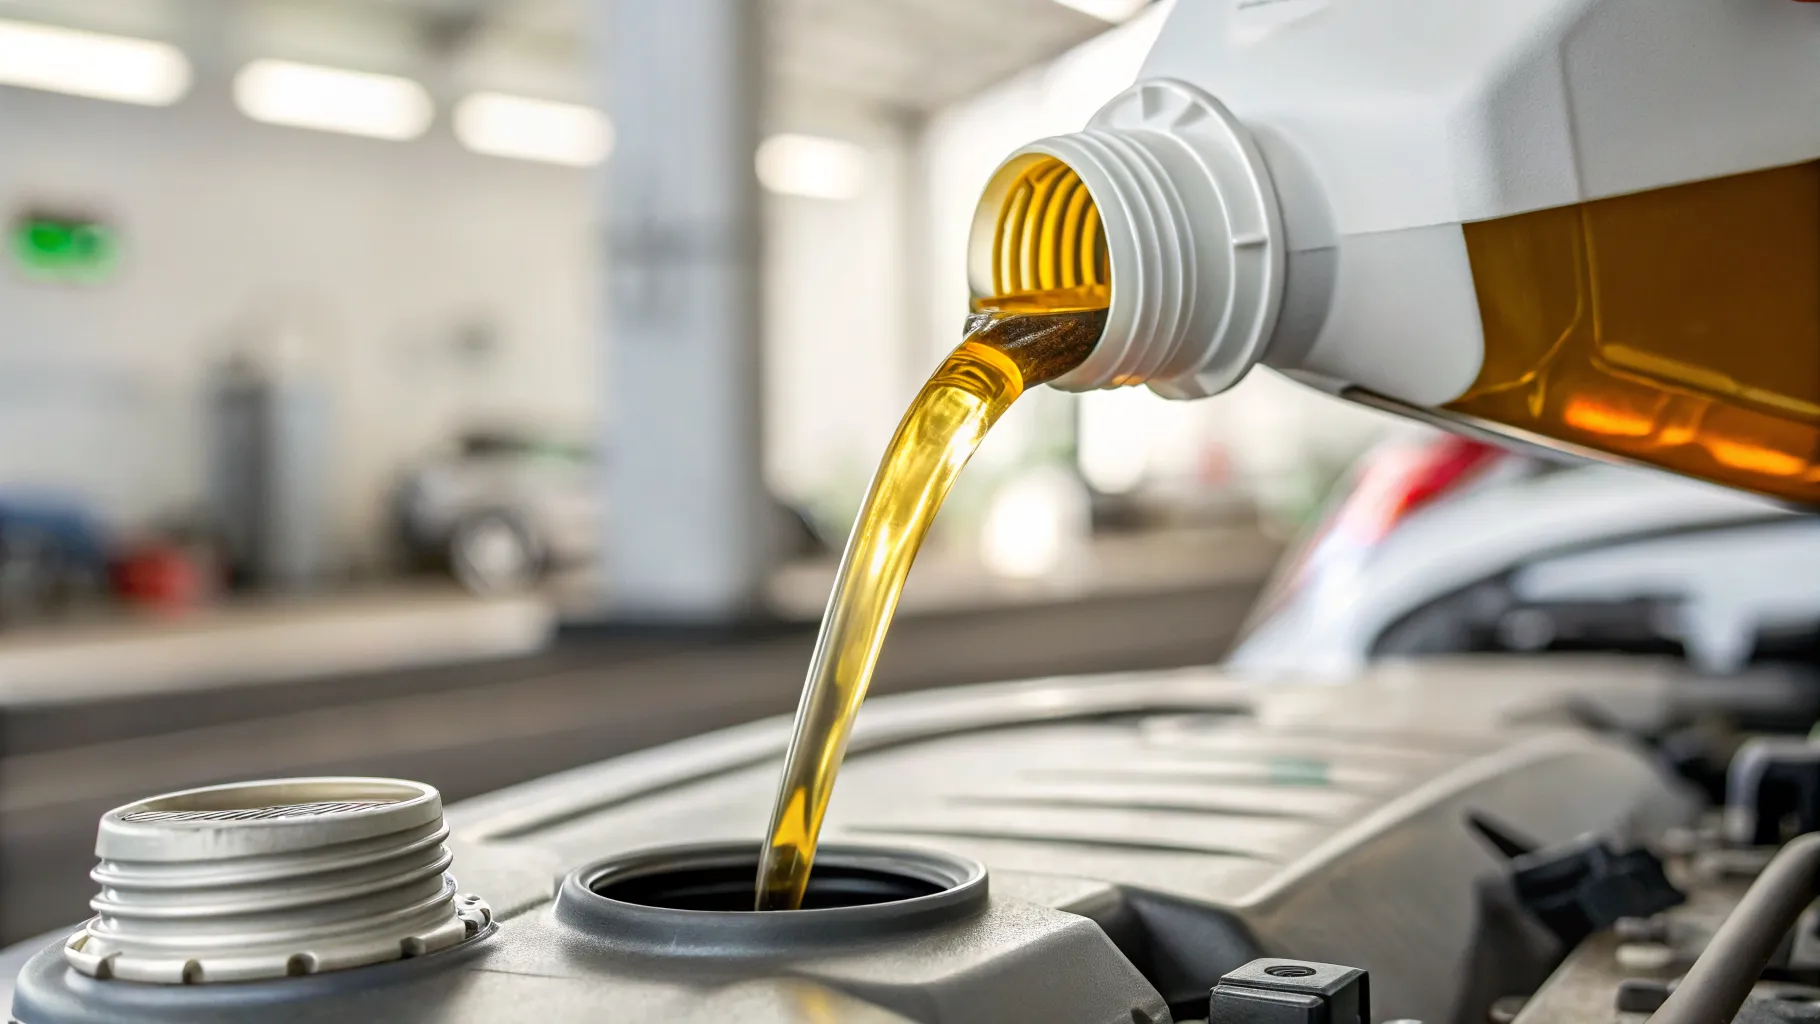
Air Compressor Oil: Which Type, How Often, and How to Change It
Use non-detergent SAE 30 (ISO 100) in most piston compressors, skip motor oil, and change it on hours not guesses. Named products and full steps.