How to Adjust an Air Compressor Pressure Switch
A pressure switch problem usually shows up in one of three ways: your compressor cycles on and off every few seconds, it climbs past the pressure you want and keeps going, or it stops well short of full tank pressure. All three trace back to the cut-in and cut-out settings on the same small box bolted to your tank, and you can adjust it yourself with a screwdriver in about ten minutes. The trick is knowing which screw does what, because there are two completely different switch designs out there and generic “turn the big screw” advice will send half of you the wrong way. Drain the tank to zero and unplug the compressor before you touch anything.
What the pressure switch actually controls (and what it doesn’t)
The pressure switch is the automatic on/off switch for the motor. Inside it, a diaphragm senses tank pressure. When the tank reaches the cut-out setting, the diaphragm pushes the electrical contacts apart and the motor stops. As you use air and pressure drops to the cut-in setting, the contacts close again and the motor restarts. That is the whole job: it decides when the pump runs based on what is in the tank.
Three terms run through everything below, so get them straight first:
- Cut-out pressure is the upper limit. The motor stops on rising pressure.
- Cut-in pressure is the lower limit. The motor starts on falling pressure.
- Differential (also called the spread or hysteresis) is cut-out minus cut-in. If the motor kicks on at 90 PSI and shuts off at 120 PSI, your differential is 30 PSI.
A common factory preset on single-stage consumer and contractor compressors is roughly 90 PSI cut-in and 120 PSI cut-out, a 30 PSI differential. Plenty of machines run a cut-out anywhere from 120 to 175 PSI depending on size, motor power, and tank rating. Quincy’s cut-in/cut-out glossary matches these definitions if you want the manufacturer’s wording.
Pressure switch vs. regulator vs. unloader valve
This is the single most common mix-up, so clear it up before you start turning screws. If you want to change the pressure going to your tool or hose, that is the regulator, not the pressure switch. The regulator sets your downstream working pressure, the air actually delivered to the nailer or impact wrench, and it does not move when the motor cycles. Adjusting the pressure switch does nothing to your tool pressure, and adjusting the regulator does nothing to when the motor runs. They are two separate controls.
The third part people trip over is the unloader valve. When the switch opens and the motor stops, the unloader bleeds the trapped head pressure off the line between the pump and the check valve, so the motor can restart unloaded instead of fighting a pressurized cylinder. Many pressure switches have an integrated unloader, and that is the second small tube or port you see on the switch body. It is not an adjustment point.
Before you touch anything: safety and prep
The switch is an electrical and pressure component, and a charged tank gives false readings, so do this in order:
- Unplug the compressor from power. Do not just flip the switch lever.
- Drain the tank completely through the drain valve until the tank gauge reads zero PSI. You want no stored pressure when the cover comes off.
- Read the data plate and the owner’s manual. Note the Maximum Allowable Working Pressure (MAWP) and the factory cut-in/cut-out numbers.
- Write down your current settings before you change them, so you can get back to baseline if an adjustment goes wrong.
One ceiling rule governs everything: never set cut-out above the tank’s MAWP or the rating of the safety relief valve. A widely cited safe practice is keeping cut-out at or below about 80 percent of MAWP. The data plate and the manual win every time; if they give a maximum, that is your maximum.
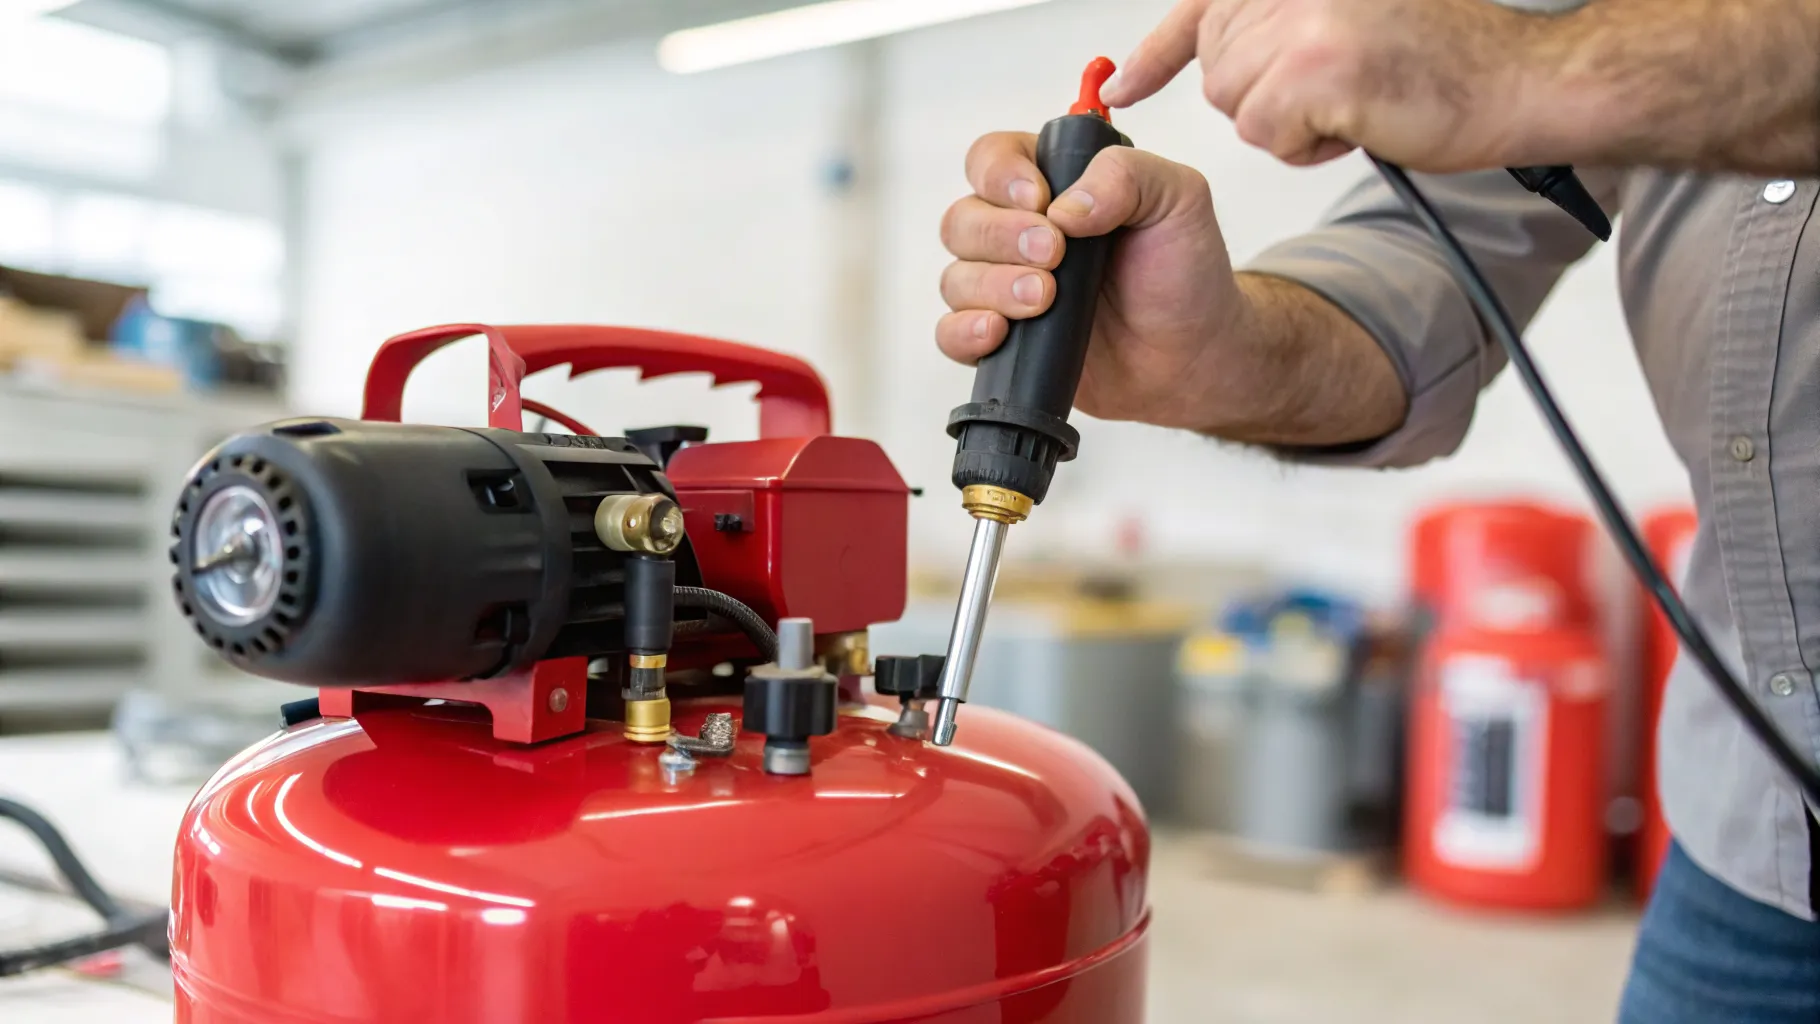
Identify which type of switch you have
Pop the cover and look at the screws. There are two architectures, and they behave differently.
Adjustable-differential (range plus differential) type. This has two adjustments: one large screw or nut in the center, and a smaller offset screw. Square D “Pumptrol” 9013, Furnas, and Condor MDR-11 switches are built this way. The large screw is the range (or main calibration) screw and moves cut-in and cut-out together. The small screw is the differential screw and changes cut-out only, widening or narrowing the spread.
Fixed-differential (dependent) type. This has only one adjustment, the range screw. The differential is preset at the factory and is not meant to be changed. If your switch is this type, there is no differential screw to turn, and you should not go hunting for a hex nut to force. Both Square D and Boshart document fixed-differential models.
If you are not sure, read the label on the switch or look up its datasheet by the part number printed on the body. Knowing which type you have decides whether the steps below give you one screw or two.
How to adjust the cut-in and cut-out pressure, step by step
Work in small moves and re-test after each one. A quarter to a half turn at a time is plenty; these switches are sensitive.
Step 1: Run a baseline cycle
Close the drain, plug the compressor back in, and let it build. Watch the tank gauge and note the pressure where the motor shuts off; that is your current cut-out. Then bleed air slowly (open a tool fitting or crack the drain) and note where the motor kicks back on; that is your current cut-in. Now you know exactly what you are starting from. Unplug again before you open the cover to adjust.
Step 2: Adjust the range/main screw
The large center screw moves the whole pressure band. Clockwise raises both cut-in and cut-out; counter-clockwise lowers both. Use this when you want everything shifted up or down while keeping roughly the same spread, for example moving a 90/120 setup up to 100/130. Make a small turn, button up, and re-test.
Step 3: Adjust the differential screw
The small offset screw changes cut-out without moving cut-in, which is how you widen or narrow the spread. Clockwise increases the differential by raising cut-out. This is the screw you use if cut-in is where you want it but you want the motor to run longer before it shuts off.
One model-specific caveat the thin articles skip: on the Furnas 69H, the order is reversed. The large screw (A) sets cut-in first, and the small screw (B) sets cut-out, because on that switch each cut-in change also shifts cut-out. The General Air Products factory procedure spells out the sequence: energize from zero, run to cut-out and note it, bleed to cut-in and note it, adjust the large screw for cut-in (clockwise raises), re-test, then once cut-in is right adjust the small screw for cut-out (clockwise raises). If you have a 69H, set cut-in first.
Step 4: Re-test and iterate
Plug in, run up to cut-out, bleed down to cut-in, and read both numbers off the gauge. If you are not there yet, unplug, make another small adjustment, and check again. Sneaking up on the target in quarter turns beats one big turn that overshoots and forces you to chase it back.
How to set the differential, and why 7 PSI is the floor
The differential is where most damage gets done, because a tighter spread feels like steadier pressure but it can wreck the motor.
The General Air Products factory procedure for the Furnas 69H states it plainly: it is very important that the differential between the cut-in and cut-out points is 7 PSI or more. Drop below that and the contacts start to chatter as pressure nears cut-out, rapid on/off cycling that gives the motor and contacts no time to cool. General Air Products warns this can destroy the motor in a very short period and damage a motor starter if one is in the circuit. You can read the full procedure in the General Air Products pressure switch adjustment PDF.
That 7 PSI floor is model-specific; some switches call for more (the older Furnas 69W in the same document specifies 13 PSI). Treat your switch’s stated minimum as the absolute electrical and safety floor, not a target. In normal use you want a lot more room than that. Many sources recommend leaving at least 20 PSI of real-world differential, and often more, to avoid short-cycling. So think of it as two separate numbers: the rated minimum is the line you must never cross, and roughly 20 to 40 PSI is the practical comfort range.
The trade-off decides where in that range you land. A wide differential means fewer motor starts and less wear, but the pressure at your tool swings more between cut-in and cut-out. A narrow differential gives steadier delivered pressure but cycles the motor more often. For most workshop use, wider is kinder to the motor.
Common problems this fixes
A surprising number of compressor complaints come back to the switch settings:
- Short-cycling (on and off every few seconds). Often a differential set too narrow, so widen it. But rule out a leak first; see the FAQ below for a quick leak test.
- Motor stops short of the pressure you want. Cut-out set too low. Raise it with the range screw, staying under MAWP.
- Motor runs past where you want it to stop. Cut-out set too high, or the switch is failing.
- Pressure at the tool is wrong. That is the regulator, not the switch. Do not adjust the switch for this.
If the machine never builds full pressure no matter how you set the switch, the problem is usually elsewhere: a leak, a stuck-open unloader, or a bad check valve. Our guide on why a compressor won’t build pressure walks through those causes, and the broader air compressor repair pillar covers related faults.
When not to adjust, and when to replace the switch
Leave the switch alone if you have a fixed-differential type and you are tempted to force a differential screw that is not meant to move. Forcing it can throw off the calibration or damage the mechanism.
Replace the switch instead of adjusting it when the diaphragm is cracked, the switch won’t hold a setting after you adjust it, or the contacts are visibly pitted or burned. Pressure switches for portable units are inexpensive, and swapping one is straightforward if you label the wires first. If you go that route, match the new switch to your tank rating and your existing port and unloader configuration; our pressure switch replacement and wiring guide covers the swap. While you are setting target pressures, it also helps to know your tool demand; see what CFM means and how to size a compressor so your cut-out actually matches the work.
Frequently asked questions
What do cut-in and cut-out pressure mean? Cut-out is the upper pressure where the motor stops as the tank fills. Cut-in is the lower pressure where the motor restarts as you use air. The gap between them is the differential; a motor that starts at 90 PSI and stops at 120 PSI has a 30 PSI differential.
Which screw is cut-in and which is cut-out? On a two-screw switch, the large range screw shifts both cut-in and cut-out together, and the small differential screw changes cut-out only. Clockwise raises pressure on both. Neither screw is purely “cut-in”; you set cut-in mainly with the range screw and then trim cut-out with the differential screw.
How do I set the differential or pressure spread? Use the small differential screw on an adjustable switch; clockwise widens the spread by raising cut-out. Keep at least the rated minimum (7 PSI on many switches) as a hard safety floor, and aim for roughly 20 PSI or more in normal use to avoid short-cycling.
My compressor turns on and off too quickly. How do I fix it? Short-cycling is usually too narrow a differential or a leak. Widen the differential with the small screw. Then leak-test: with a full tank and no tools connected, watch the gauge for 60 seconds. A drop of 20 to 30 PSI in that minute points to a leak. Check that the drain valve is closed and inspect fittings, the hose, and the unloader.
My compressor won’t shut off or won’t reach cut-out. Why? Either the cut-out is set too high or the switch is faulty, or air is leaking out faster than the pump can build it. A stuck-open unloader or a bad check valve will also keep the motor running because the tank never reaches cut-out.
Can I make my compressor go to a higher PSI? Only up to the tank’s MAWP and the relief valve rating, never above. Raise cut-out with the range screw within that ceiling, and keep cut-out at or below about 80 percent of MAWP as a safe margin. Check the data plate for your limit.
What is the difference between the pressure switch and the regulator? The pressure switch controls when the motor runs based on tank pressure. The regulator controls the pressure delivered to your tool at the outlet. Adjusting one has no effect on the other, so if your tool pressure is wrong, change the regulator, not the switch.
What is a normal cut-in and cut-out setting? Single-stage units are commonly set around 90 PSI cut-in and 120 PSI cut-out from the factory, though many machines run cut-out as high as 175 PSI. Always follow the numbers on your data plate and manual.
My differential isn’t adjustable. Why? You most likely have a fixed (dependent) differential switch, where the manufacturer presets the spread and only the range is adjustable. There is no differential screw to turn on these, so don’t force a hex nut that isn’t meant to move.
More from Air Compressor Mag
Best Portable Air Compressors: Picks by Job (2026)
Real portable air compressor picks by job, from tire inflation to framing, with the CFM at 90 PSI, tank size, and noise specs that actually decide it.
Air Compressor Repair: Fix It by Symptom
Symptom-based air compressor repair: won't build pressure, won't start, won't shut off, trips the breaker, leaks, or oil in the line. Safe fixes.
Air Compressor Oil: Which Type, How Often, and How to Change It
Use non-detergent SAE 30 (ISO 100) in most piston compressors, skip motor oil, and change it on hours not guesses. Named products and full steps.