How to Turn On and Off an Air Compressor
A surprising number of “how to turn on an air compressor” guides stop the moment the motor starts and skip the half that actually protects your tank: turning it off and draining it. Both halves are one loop. You start the unit, build pressure, set your working pressure, run the tool, then shut down and bleed the water out before the next session. Get the full loop right and a basic compressor lasts for years. Skip the drain and the tank rusts from the inside.
Here is the complete sequence for a typical portable electric compressor, plus the parts beginners trip over: the AUTO/ON/OFF switch, regulator pressure versus tank pressure, and how much air to leave in the tank when you drain.
Before the first start: the one-time checks
The very first startup of a brand-new unit, or the first run after the unit has sat, deserves a few extra checks that you can skip on everyday startups.
- Set it on a flat, level surface. This matters most for oil-lubricated pumps, where a tilt throws off the oil reading.
- Check the pump oil level if your unit is oil-lubed. Many portable pancake and hot-dog compressors are oil-free and skip this entirely. If yours takes oil, top it to the line before the first run and check it before each use after that. See our guide to air compressor oil for the right type and level.
- Inspect hoses and fittings for cracks, and confirm couplers are seated.
- Confirm the power switch starts in OFF before you plug in.
Everyday startups only need the level surface, a quick look at hoses, and the switch in OFF.
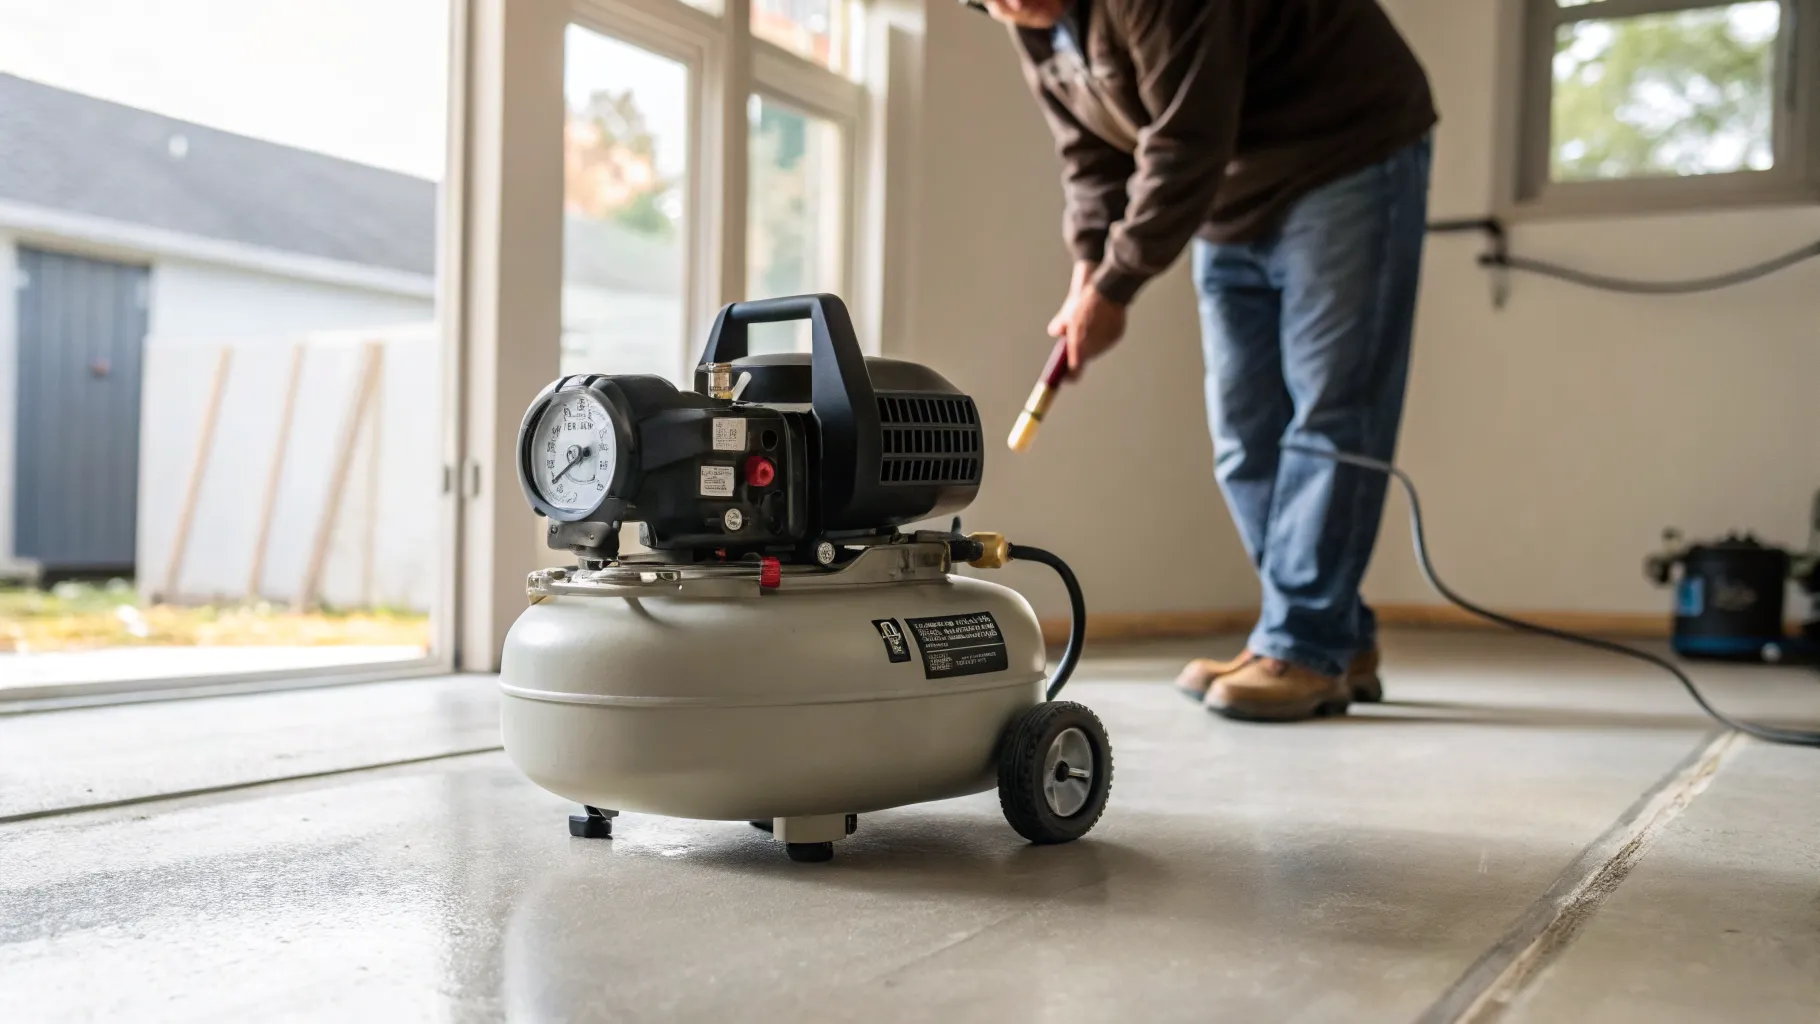
How to turn on an air compressor, step by step
- Start with the switch in OFF. On a lever-style pressure switch this is the “OFF” position; on a unit like the DeWalt DWFP55126 it is a simple On/Off rocker.
- Plug into a grounded outlet, ideally without an extension cord. A long or undersized cord drops voltage, which makes the motor draw more current and run hot. If you do need a cord, follow the manual: DeWalt, for example, calls for 14 gauge or larger and 50 feet or less on the DWFP55126. When you can, move the compressor instead of the cord, or run a longer air hose rather than a longer power cord.
- Move the switch to AUTO/ON (or On). The motor runs and builds tank pressure to the factory cut-out point, then stops on its own. This is normal. The compressor is not broken when the motor goes quiet; it has simply reached the top of its range.
- Wait for the motor to cut out before using your tool. Let it fill the tank fully the first time so you start with a full charge.
- Set your working pressure on the regulator. Turn the regulator knob clockwise to raise outlet pressure, counterclockwise to lower it, until the gauge reads what your tool needs. Never exceed the tool maker’s maximum.
That last step is where most confusion lives, so it is worth slowing down on.
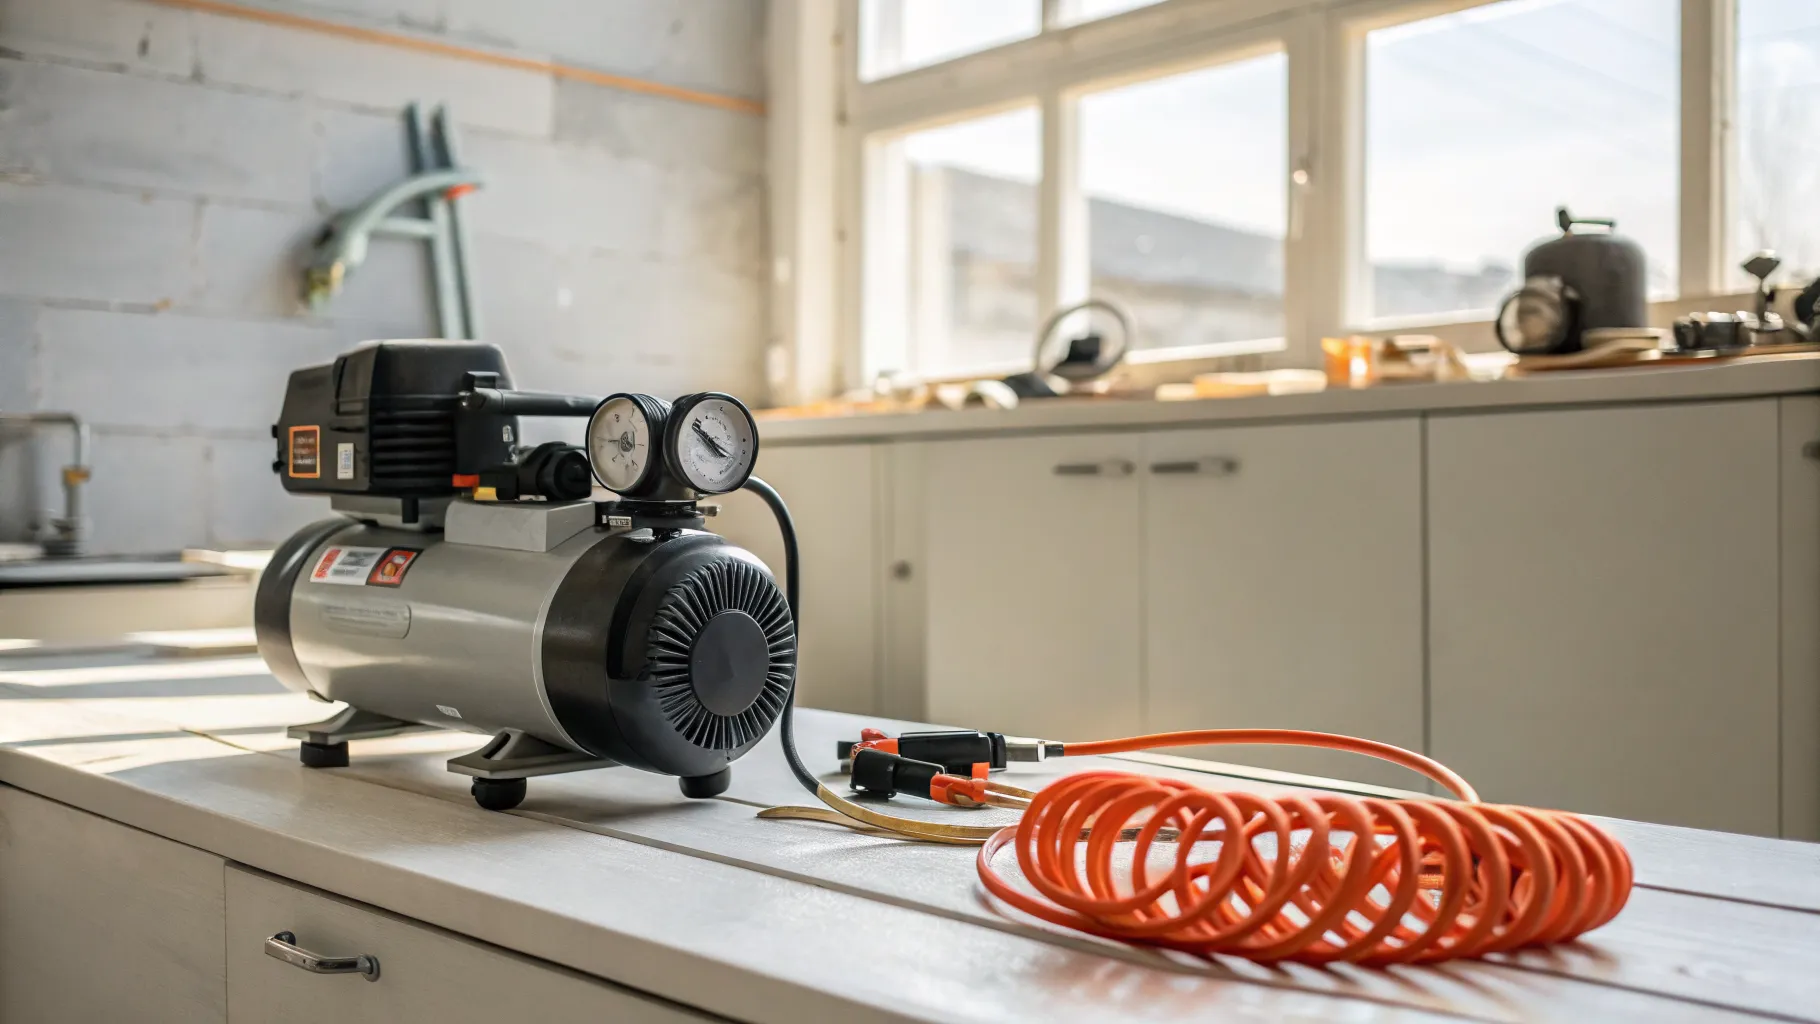
Tank pressure versus regulator pressure
A compressor has two pressures, and they are not the same number.
| What it is | Set by | Typical reading | |
|---|---|---|---|
| Tank pressure | Air stored in the tank | The pressure switch (cut-in / cut-out), factory set | Cycles between cut-in and cut-out, often up to 150 to 165 PSI on portables |
| Working pressure | Air going out to your tool | The regulator knob you adjust | Whatever your tool needs, for example 90 PSI for many nailers |
The tank holds a high reserve so the motor does not have to run constantly. The regulator steps that reserve down to a steady, lower pressure your tool can use. You set the regulator; you leave the tank pressure alone. If you want to understand the cut-in and cut-out cycle in more depth, or change those set points, read how to adjust the air compressor pressure switch.
What AUTO, ON, and OFF actually do
On compressors with a lever-style pressure switch, the positions are not arbitrary.
- AUTO/ON: the switch follows the factory cut-in and cut-out settings. When tank pressure drops to the cut-in point, a diaphragm inside the switch closes the electrical contacts and the motor runs. When pressure reaches cut-out, the diaphragm opens the contacts and the motor stops. The motor cycling on and off by itself while you work is the system doing its job. Cut-in typically sits around 30 PSI below cut-out.
- OFF: a plastic piece inside the switch wedges the contacts apart so the motor cannot run, no matter what the tank pressure is.
If the motor kicks on by itself when you are not using any air, that is usually a leak somewhere in the tank, fittings, or hose, not a switch fault. Our air compressor repair guide walks through finding and fixing it.
If it won’t turn on: a quick check
Before assuming the worst, run through the common causes:
- No power: tripped breaker, a switched-off outlet, or a bad cord.
- Tank already full: if pressure is at or above cut-out, the motor will not run until you bleed some air or it leaks down to cut-in.
- Low-oil shutdown: some oil-lubed units have a sensor that blocks startup when oil is low.
- A faulty pressure switch or a tired start capacitor.
If none of those clears it, the air compressor repair guide covers the deeper electrical and pressure-switch diagnostics.
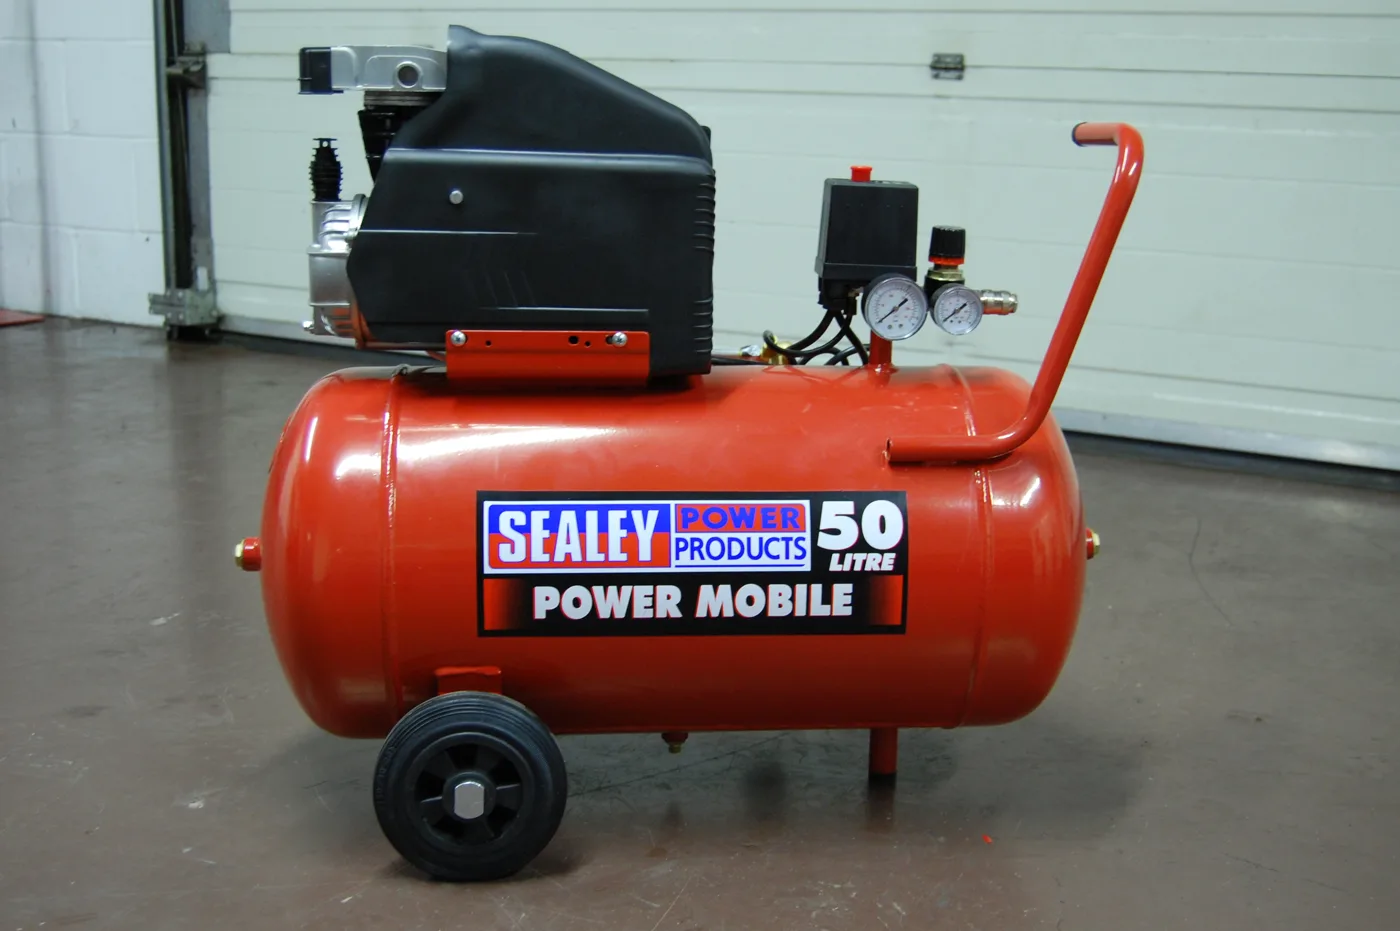
How to turn off an air compressor and drain the tank
Shutting down is more than flipping the switch. Every time the compressor runs, it pulls in humid air, and as the compressed air cools in the tank, water vapor condenses into liquid. Leave that water sitting and it rusts the tank from the inside, which weakens the steel over time. Drain after each use, or at least weekly if you only run it occasionally.
Here is the manufacturer sequence, drawn from the DeWalt DWFP55126 manual:
- Set the On/Off switch to Off.
- Turn the regulator knob counterclockwise to set outlet pressure to zero.
- Place a container under the drain valve at the bottom of the tank.
- Bleed the tank down to a little pressure, not all of it. Pull the ring on the safety valve and let air out until the tank reads roughly 10 to 20 PSI. DeWalt specifies about 20 PSI; other makers say 5 to 10. Check your own manual, but the principle is the same: leave a little pressure so it can push the water out.
- Open the drain valve at the bottom of the tank. The residual pressure forces the moisture out. Drain a fully empty tank and nothing pushes the water; drain a fully pressurized one and you get a violent, dangerous blast.
- Close the drain valve once the water stops, then unplug the unit.
You can read the full procedure in the DeWalt DWFP55126 instruction manual, which lists these exact steps for that 6-gallon, 165 max PSI pancake unit.
A safety note on blowing things off
If you ever use compressed air to blow chips or dust off a surface, OSHA requires that the air be reduced to less than 30 PSI for cleaning, and then only with effective chip guarding and personal protective equipment. That rule lives in OSHA 29 CFR 1910.242(b). A regulator set high enough to drive a nailer is far above that limit, so step it down before pointing a blow gun at anything.
Frequently asked questions
Do I leave it in AUTO or turn it off when I’m done? Turn it off. AUTO is for while you are actively using air, so the motor can refill the tank as you draw it down. When you finish, set the switch to Off, drop the regulator to zero, drain the tank, and unplug. Leaving it in AUTO means the motor can cycle on by itself overnight if there is any small leak.
Should I leave my air compressor pressurized overnight? Most owners unplug and drain after each session, which also empties the tank. If you prefer to keep the tank charged for the next day, at minimum cut the power and close a ball valve, and still drain the moisture before long storage. A charged tank holding condensation is the rust risk you are trying to avoid.
Do I have to drain the tank every single time? After each use is best, especially in humid conditions. If you only run the compressor lightly and occasionally, draining at least once a week keeps standing water from corroding the tank. The more humid your shop, the more water you will collect.
How much pressure should be left in the tank when I drain it? A little, not all of it. Roughly 10 to 20 PSI, depending on your manual. That small amount of residual pressure pushes the water out of the open drain valve. A completely empty tank will not clear the water, and draining a fully pressurized tank is unsafe.
Do I need to wait for it to build pressure before using a tool? Yes, for the first fill. Let the motor run until it cuts out so you start with a full tank. After that, the compressor refills automatically as you use air, so you can keep working while it cycles.
Can I use an extension cord? Better to plug straight into a grounded outlet. A long or undersized cord drops voltage, which makes the motor draw more current and run hot. If you must use one, match it to the manual; DeWalt calls for 14 gauge or larger and 50 feet or less on the DWFP55126. When you can, move the compressor or add air hose rather than power cord.
How do I set the pressure for my tool? Use the regulator, not the tank. Turn the regulator knob until the outlet gauge matches your tool’s rated pressure, for example 90 PSI for many finish nailers, and never exceed the tool maker’s maximum. The tank pressure stays where the factory pressure switch sets it. For matching a compressor’s output to what your tools demand, see what size air compressor do I need.
More from Air Compressor Mag
Best Portable Air Compressors: Picks by Job (2026)
Real portable air compressor picks by job, from tire inflation to framing, with the CFM at 90 PSI, tank size, and noise specs that actually decide it.
CFM Explained: How to Choose a High CFM Air Compressor for Your Tools
How to read CFM ratings and pick a high CFM air compressor: the 90 PSI standard, SCFM, a tool chart, and when you need 10, 20 or 50 CFM.
Air Compressor Tank Guide: Sizing, Care, and Replacement
An air compressor tank guide covering how to size a tank by CFM, keep it from rusting, and know when it is time to replace the receiver.