Air Compressor Check Valve: Function, Symptoms, and Replacement
If air keeps hissing out of the pressure switch after your compressor shuts off, the air compressor check valve is the first part to suspect, not the unloader valve everyone blames. The check valve is a one-way valve threaded into your tank inlet. It lets air flow from the pump into the tank, then seals so tank pressure cannot bleed back through the pump head. When it stops sealing, stored air leaks backward and escapes out the unloader port, the tank drains, and the motor short-cycles. This guide covers how the valve works, the symptoms of a failed one, how to test it in two minutes, and how to replace it yourself for the cost of a cheap brass part.
How an air compressor check valve actually works
The check valve, sometimes called an air compressor one way valve or non-return valve, sits between the pump’s discharge line and the tank. Air pushes the valve open on its way into the tank. The moment the pump stops pushing, a small spring and poppet snap the valve shut, trapping tank pressure where it belongs.
Here is the part most articles skip, and the single biggest source of confusion: the check valve works as a pair with the unloader valve on your pressure switch. A thin 1/4” line connects the two.
When the compressor reaches cut-out pressure and stops, two things happen at once. The check valve seals the tank. The unloader valve vents the leftover air trapped in the discharge line and pump head, which is the short “pssst” you hear right after shutoff. That release lets the motor restart against no pressure next time, so it does not strain or trip a breaker.
So if you hear air leaking out of the unloader continuously instead of one quick pssst, the problem is usually behind the unloader, at the check valve. Tank air is sneaking backward past a check valve that no longer seals, then escaping out the unloader port. People replace the unloader, find it still leaks, and stay stuck. Start at the check valve.
Check valve symptoms: the two failure modes
A check valve fails in one of two ways, and the symptoms point clearly to which.
Stuck or leaking open (most common). The poppet or seat is worn, or debris is holding it open. Symptoms:
- Air hissing out of the unloader valve or pressure-switch bleeder after the unit shuts off (the top symptom).
- Tank pressure dropping fast when the compressor is off, sometimes draining the tank overnight.
- The compressor short-cycling or kicking on by itself when no tool is using air.
- Hissing or popping at the pump head.
Stuck closed (less common). The valve jams shut and high pressure stays trapped in the pump head. Symptoms:
- The motor struggling to start, starting slowly, or not starting at all.
- Repeated thermal-overload or breaker trips on restart, because the motor cannot overcome the trapped head pressure.
Before you blame the valve, rule out the obvious. Spray soapy water on tank fittings, the drain valve, and hose connections to find ordinary leaks. A bad drain valve mimics a slow tank drain, so check the drain valve guide if your tank empties between sessions. And confirm the symptom is really the unloader by reading how to adjust the air compressor pressure switch, since a misadjusted or failing switch can imitate check-valve behavior.
How to test the check valve
You can confirm a bad check valve three ways, from easiest to most certain.
1. The listen test. Build full pressure, shut the compressor off, and listen. A quick pssst from the unloader, then silence, is normal. Continuous hissing that you can trace toward the pump or the unloader port points to a check valve that is not sealing.
2. The gauge test. With the compressor off and unplugged, watch the tank gauge. If pressure falls quickly and you have already ruled out fitting and tank leaks with soapy water, the check valve is the likely culprit.
3. The bench test. This is the definitive one. Drain the tank, remove the valve, and try to blow through it by mouth or with low-pressure air. A good valve passes air in one direction only. If it passes both ways, it has failed. Sometimes it is just grit on the seat, so soak and brush the valve clean, then retest before buying a new one. A cleaned valve that still leaks both ways needs replacing.
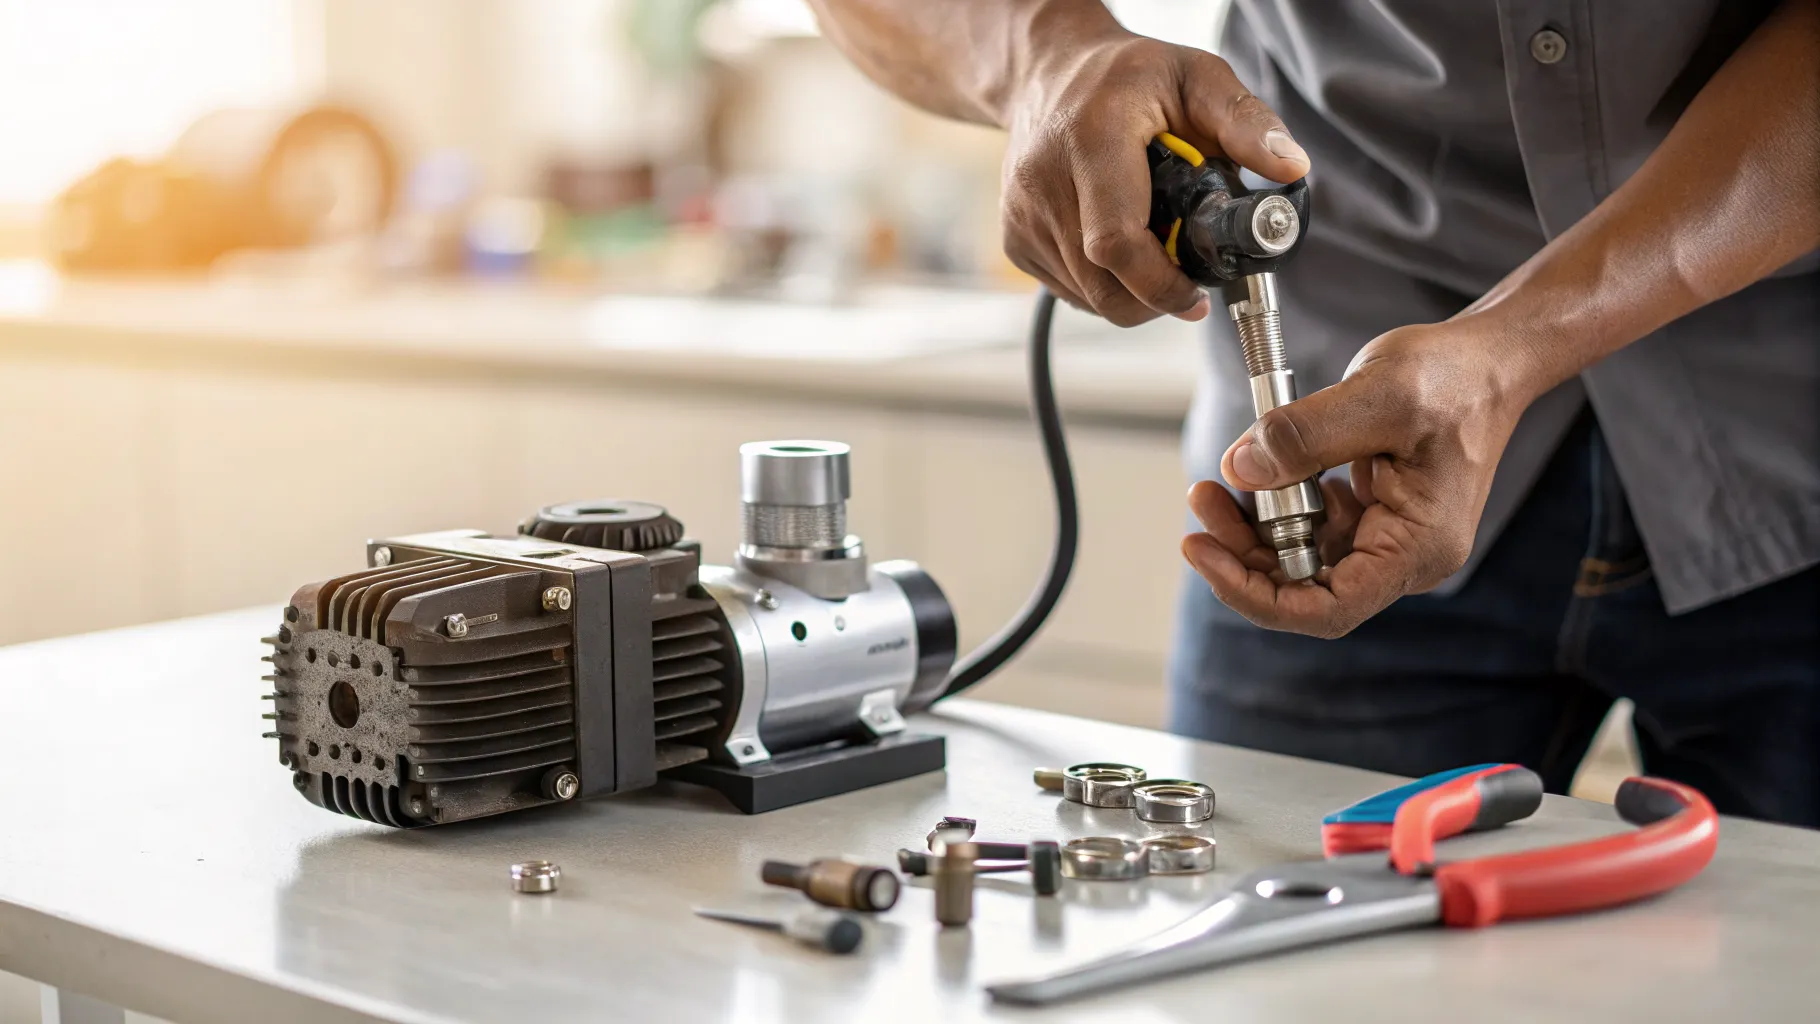
Air compressor check valve replacement, step by step
This is a genuinely easy repair. The valve is cheap, the tools are basic, and the only hard rule is safety: never open the valve with pressure in the tank.
- Unplug the compressor and drain all tank air. Open the drain valve and confirm the gauge reads 0 psi. If you are not sure how, follow how to drain an air compressor. This step is not optional; trapped air behind a valve you are loosening is dangerous.
- Disconnect the small unloader line from the check valve’s side port. Note how it sits so you can reconnect it the same way.
- Unscrew the old valve with a wrench. It may be stiff from factory thread sealant. Note the body style as it comes off, straight or 90-degree, and which thread goes where.
- Clean the threaded port in the tank so the new valve seats cleanly.
- Seal the new valve correctly. Apply Teflon tape or pipe dope to the male threads, wrapping in the direction of the threads, unless the valve shipped with sealant already applied, in which case do not double up. Keep all tape and dope off the poppet and seat.
- Thread it in and tighten snug. Do not overtighten. Brass cracks and threads strip easily, and a hairline crack creates a leak worse than the one you fixed.
- Reconnect the unloader line, plug in, and run it. Confirm the tank builds and holds pressure, and that the unloader gives one quick pssst at shutoff instead of a steady hiss.
If the valve fights you or the threads look damaged, our general air compressor repair guide covers wider troubleshooting. While you are in there, it is worth checking the relief valve too, since it shares the safety job of managing tank pressure.
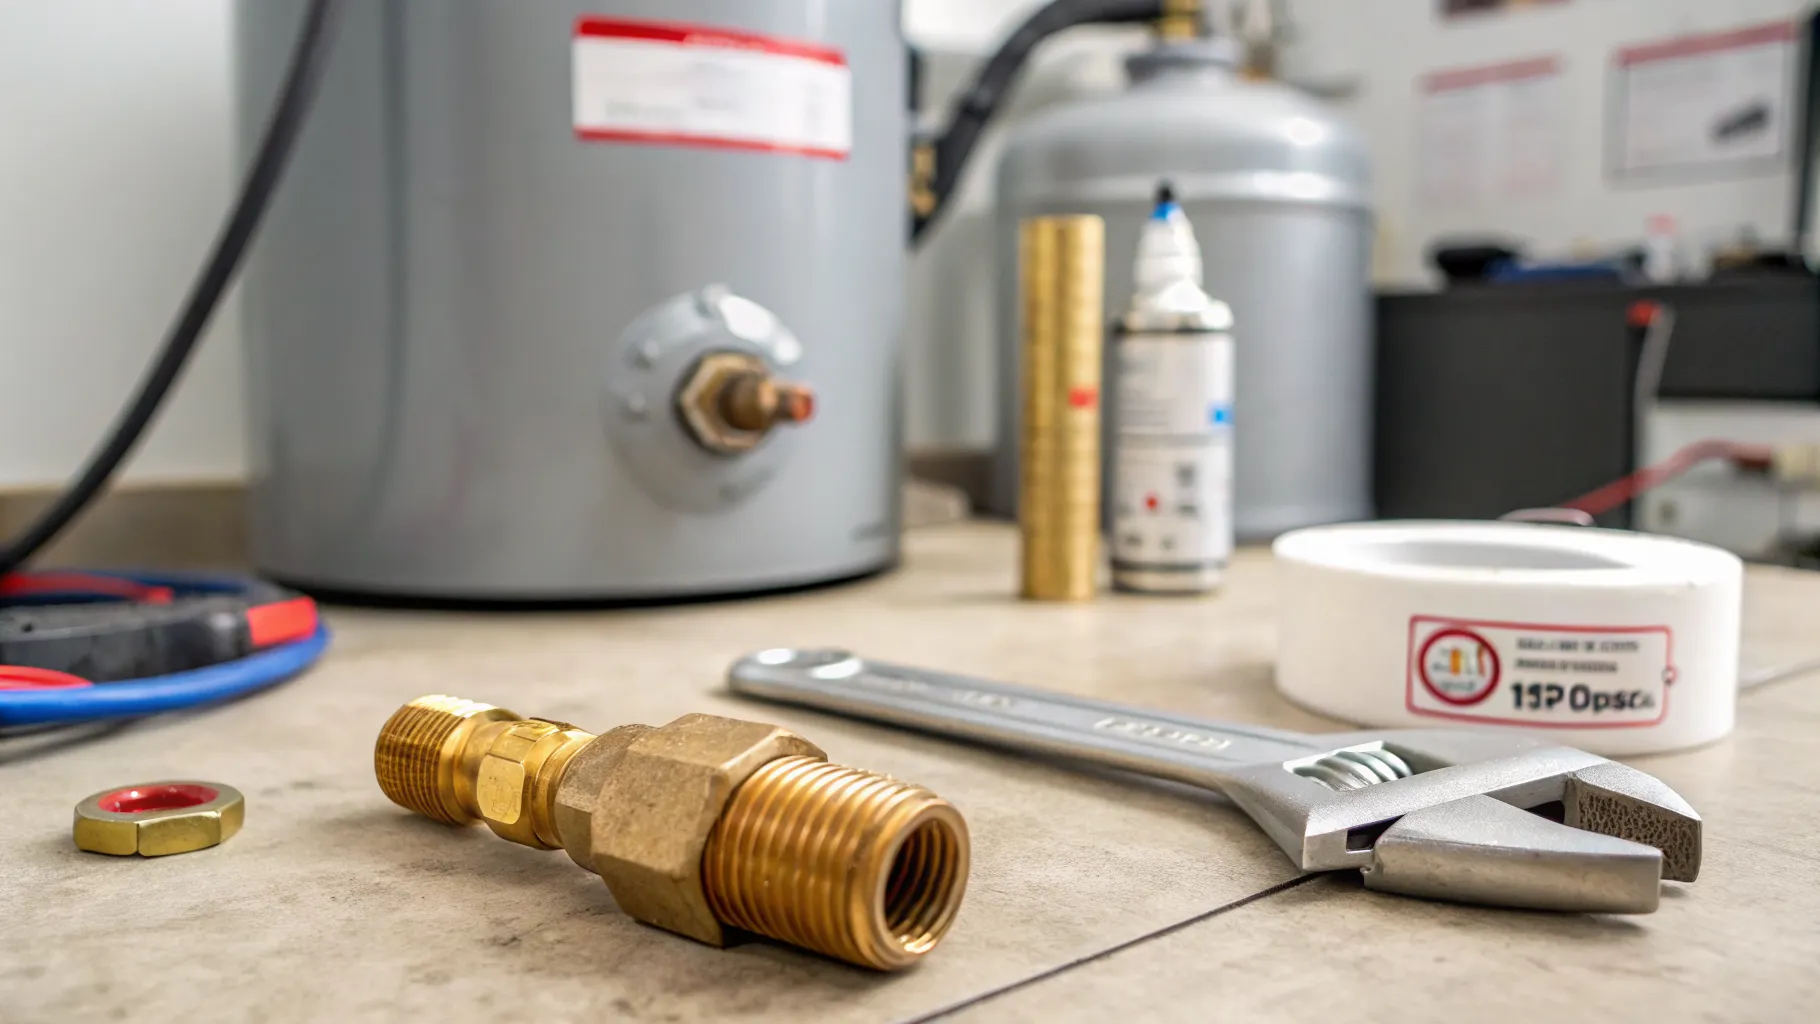
Choosing the right replacement valve
Check valves are not universal. Match yours by your compressor’s model and serial number, then confirm the physical fit on three points:
- Thread sizes. The tank thread and the tube or outlet thread, commonly 1/2” NPT, vary by model.
- Unloader-port size. Usually 1/8” or 1/4” NPT. Getting this wrong means the unloader line will not connect.
- Body style. Straight versus 90-degree elbow.
Real OEM examples include the Rol-Air CV1212-P2 (1/2” MPT by 1/2” FPT with a 1/4” unloader port, brass body, stainless springs, Teflon poppets) and several Campbell Hausfeld units such as the CV221502AV and the 90-degree HL019400AV. Campbell Hausfeld also sells a check valve kit, the GR001600AJ, directly. Buy by OEM part number from a parts retailer rather than guessing, and you will get the right thread configuration the first time. For a full walkthrough with photos, eReplacementParts has a solid step-by-step.
Frequently asked questions
How do I know if my check valve is bad and not the unloader valve? Listen after shutoff. A bad unloader gives one pssst and stops; a bad check valve lets tank air leak backward and hiss out the unloader continuously. If you already swapped the unloader and it still leaks, the check valve is almost certainly the real fault. Confirm with the bench blow-through test: a failed valve passes air both directions.
Why is air constantly leaking out of the unloader valve when the compressor is off? Because the check valve is not sealing. Tank pressure is bleeding backward past the worn or stuck-open valve, down the line, and out the unloader port. The unloader is just where the air exits; the leak source is the check valve.
Why won’t my compressor start, or why does it trip the breaker after shutdown? That points to a check valve stuck closed, trapping high pressure in the pump head. The motor cannot overcome that pressure on restart, so it strains, stalls, or trips the thermal overload. Draining the tank may let it start once, but the valve still needs replacing.
Can I clean a stuck check valve instead of replacing it? Sometimes, yes. If debris is holding the poppet open, remove the valve, soak and brush it clean, and retest by blowing through it. If it then passes air one way only, you saved a part. If it still leaks both ways, the seat or poppet is worn and you need a new valve.
Do I need Teflon tape on a new check valve, or does it come pre-sealed? Many ship with sealant already applied; if so, do not add more. If yours has bare threads, wrap Teflon tape in the thread direction or use pipe dope on the male threads only. Keep it off the poppet, and never overtighten brass.
How long do check valves last? There is no fixed schedule. Replace on symptoms, not a calendar. Many run several years under normal use. Since the part is inexpensive and the swap is quick, replace it as soon as it starts leaking rather than nursing a draining tank.
More from Air Compressor Mag
Best Portable Air Compressors: Picks by Job (2026)
Real portable air compressor picks by job, from tire inflation to framing, with the CFM at 90 PSI, tank size, and noise specs that actually decide it.
Air Compressor Repair: Fix It by Symptom
Symptom-based air compressor repair: won't build pressure, won't start, won't shut off, trips the breaker, leaks, or oil in the line. Safe fixes.
Air Compressor Oil: Which Type, How Often, and How to Change It
Use non-detergent SAE 30 (ISO 100) in most piston compressors, skip motor oil, and change it on hours not guesses. Named products and full steps.