How to Drain an Air Compressor Tank the Right Way
Water is the slow killer of every air receiver. Every time your compressor runs, it pulls in humid ambient air, squeezes it, and the cooling that follows inside the steel tank wrings that moisture out as liquid. It pools at the lowest point. Depending on the weather and how hard you run the unit, one session can leave anywhere from a few drops to a pint or more sitting on the floor of your tank. Leave it there and it rusts the steel from the inside, where you can’t see it, until the wall is thin enough to fail.
Draining the tank takes about ten seconds. Doing it correctly, and often enough, is the single most important maintenance habit for a compressor and the easiest one to skip.
The fast version (for people who just want the steps)
- Shut the compressor off and unplug it.
- Bleed the tank pressure down to below 10 PSI. Watch the gauge.
- Put on safety glasses and ear protection.
- Find the drain valve at the lowest point on the underside of the tank.
- Point the drain port away from yourself and anyone nearby.
- Open the valve and let the water and air blow out.
- When it stops draining, close the valve snugly.
The rest of this guide explains why each step matters, how often to actually do this, and how to handle rusty water, a clogged petcock, and storage.
Why an undrained tank is genuinely dangerous
This is not a “your tool will wear out faster” warning. A pressurized air receiver that corrodes from the inside can rupture, and a rupturing tank releases a large amount of stored energy at once.
Standing water plus oxygen rusts bare steel. Most compressor tanks are unpainted and untreated on the inside, so the metal is exposed. The corrosion eats outward from the wet interior surface, thinning the wall with no external sign at all. You can have a tank that looks perfect on the outside and is dangerously thin inside. Corrosion from undrained condensate is one of the main reasons old air receivers fail.
These failures are real and they kill people. A California FACE investigation (part of the CDC/NIOSH fatality program) documented a 46-year-old car-wash supervisor killed in July 2005 when a 23-year-old air tank exploded in an equipment room. In that specific case the tank was old and investigators found combustion residue linked to improper compressor oil, not condensate corrosion, but it shows the same blunt fact: air receivers can and do fail catastrophically, and an old, poorly maintained tank is the one that gets there. Internal corrosion from condensate that was never drained is one of the ways a tank quietly becomes that hazard.
You don’t need to be scared of your compressor. You need to maintain it, and draining it is step one.
What the rules actually say
Two authorities matter here: the federal safety standard and the people who built your tank. They don’t say exactly the same thing, and the gap between them is where most articles get sloppy.
OSHA: drain valve required, “frequent” draining required, no number given
The federal standard for air receivers is OSHA 29 CFR 1910.169. The relevant parts:
- 1910.169(b)(2): a drain pipe and valve “shall be installed at the lowest point of every air receiver to provide for the removal of accumulated oil and water,” and the receiver must be drained “frequently and at such intervals as to prevent the accumulation of excessive amounts of liquid in the receiver.”
- 1910.169(b)(3): every receiver must have a readily visible indicating pressure gauge and one or more spring-loaded safety valves. The safety valves’ combined relieving capacity must keep pressure from rising more than 10 percent over the maximum allowable working pressure. “No valve of any type shall be placed between the air receiver and its safety valve or valves,” and all safety valves “shall be tested frequently and at regular intervals.”
Read that carefully. OSHA mandates that a drain exists and that you use it often enough to keep liquid from building up. It does not put a number on “frequently.” Plenty of pages imply OSHA requires daily draining; it doesn’t. It requires you to drain often enough for your conditions, which is a judgment call OSHA leaves to you.
Manufacturers: drain daily
The companies that build tanks are less ambiguous. Ingersoll Rand’s guidance is blunt: drain your tank daily, whether manually or automatically, because water buildup rusts the bottom of the tank and forces you to replace it. Other tank makers say the same thing: drain after each use, daily, and before any long-term storage.
So which is it?
How often to actually drain it
The manufacturer answer (after every use, or at least daily) is the correct one, and if you run a shop or work in a humid climate, follow it literally. For a home shop that fires up the compressor a few times a month, here is the honest tiering:
| Use pattern | Realistic drain schedule |
|---|---|
| Daily / shop use | After each use, or at minimum once a day |
| Humid climate, regular use | Daily; humidity drives condensation hard |
| Regular weekend / hobby use | Weekly, a couple seconds each time |
| Occasional, dry climate | Weekly when in use; before any storage |
| Going into storage | Always drain fully first, every time |
The pattern to take from this: more humidity and more running time mean more water, which means drain more often. When in doubt, drain it. It costs you ten seconds and a little compressed air.
The right way, step by step
1. Power down and depressurize the right amount
Turn the compressor off and unplug it. Then deal with the pressure, because this is the step people get wrong in both directions.
Bring the tank pressure down to below 10 PSI before you open the drain valve. Opening a drain under full pressure throws water, oil, and rust grit out hard enough to injure an eye and is loud enough to damage hearing.
To bleed pressure quickly, you can pull the ring on the ASME safety valve. Wear safety glasses, and shield the valve with one hand as you pull the ring with the other, because that blast stirs up dust and debris.
Here is the nuance most guides skip. You do not have to drop the tank to a dead zero. A small amount of residual pressure is actually useful: when you crack the drain valve, that leftover air blasts the water and sludge out of the drain port instead of letting it ooze and clog. The reconciled best practice is simple: get below 10 PSI for safety, but don’t necessarily empty it to zero, because a little residual pressure helps push debris out. Always do it with eye and ear protection and the port pointed away from people.
2. Find the drain valve
It’s at the lowest point of the tank, on the underside, because that’s where water settles and because OSHA requires it to be there. On a small portable unit it’s usually a little petcock you turn by hand or with a small key. On a larger vertical tank it may be a quarter-turn lever (a ball valve).
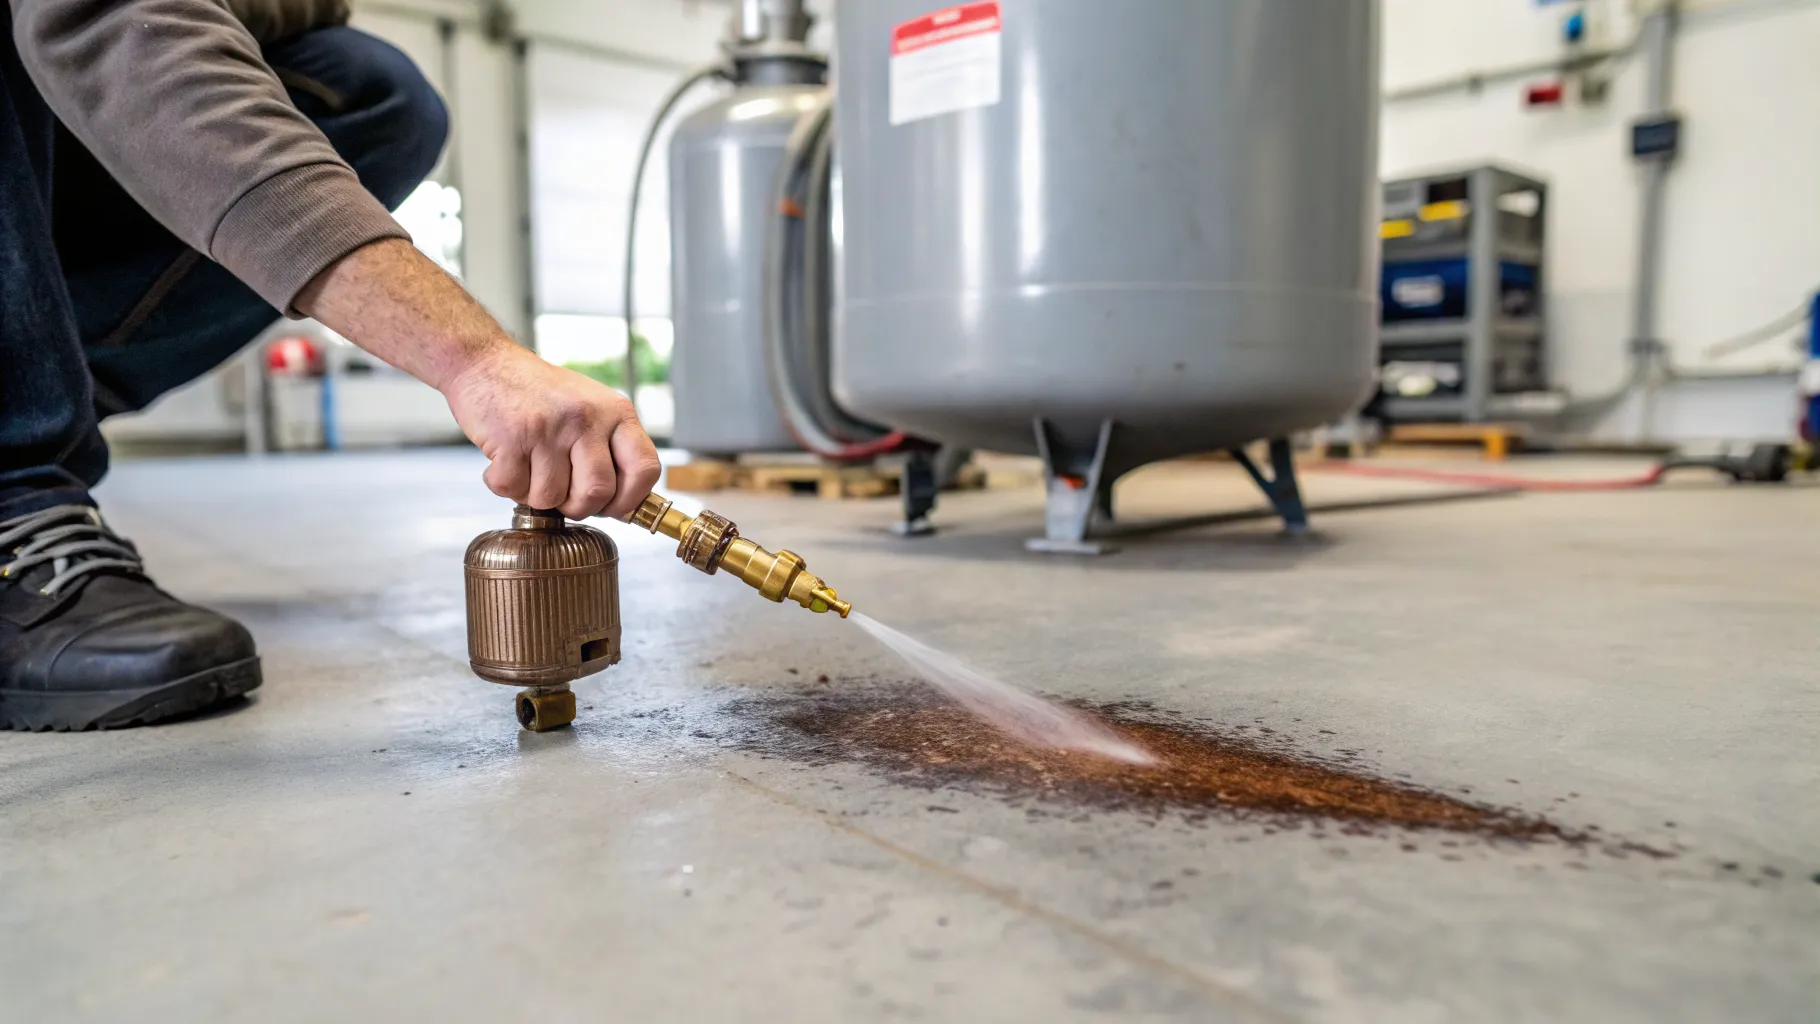
3. Open it and let it blow out
Point the port away from yourself and anyone else, and away from anything you don’t want sprayed with rusty water. Open the valve. You’ll hear air and see water come out, often dirty. Let it run until only air is coming out and the water has stopped.
If you’ve left a little residual pressure, it will do most of the work clearing the port. If you fully depressurized, you may need to tip the compressor slightly to get the last of the water to the drain.
4. Close it back up
Close the valve snugly once the water’s out. Don’t leave it open as a habit; see the storage section below for the one exception. With the tank drained, you can repressurize and get back to work. If you’re setting the unit up again from cold, our guide on how to turn on an air compressor walks through the startup sequence.
“The water is rusty/brown. Is my tank ruined?”
Almost certainly not, and this catches a lot of first-timers off guard. Rusty water is normal. Because the inside of most tanks is bare steel, the condensate picks up surface rust and comes out brown or orange. Experienced users describe it as being as common as dirty oil in an engine. Seeing it is a sign your tank is bare steel and has been holding water, which is exactly why you’re draining it.
What’s normal versus what’s a warning:
- Normal: discolored, rusty, or brown water on a tank that doesn’t get drained often. Drain it, keep draining it regularly, and the volume of loose rust will settle down.
- Worth watching: heavy, persistent flakes and sludge every single time, especially on an older tank that’s been neglected for years.
The hard truth is that you can’t judge a tank’s safety by the color of its water or the look of its exterior, because the corrosion that matters happens on the inside wall and is invisible from outside. If a tank is old, has been left full of water for years, and is throwing heavy rust constantly, treat that as a reason to retire it rather than trust it. A new tank is cheaper than the alternative. Quincy Compressor has useful guidance on rust and inspection if you want to go deeper on prevention.
“Barely any water comes out” or “nothing comes out”
Two likely explanations:
- It’s genuinely dry. Low humidity and light use mean little condensation. If you ran the compressor briefly in a dry shop, a few drops is plausible.
- The petcock is clogged. Petcock valves are small and notorious for clogging with rust and gunk, which blocks the water that’s actually in there from getting out. If you know the tank has been holding water and nothing drains, suspect a clog.
To check for a clog, depressurize, remove or open the petcock fully, and clear the port. A clogged drain is one of the better reasons to upgrade the valve, covered next.
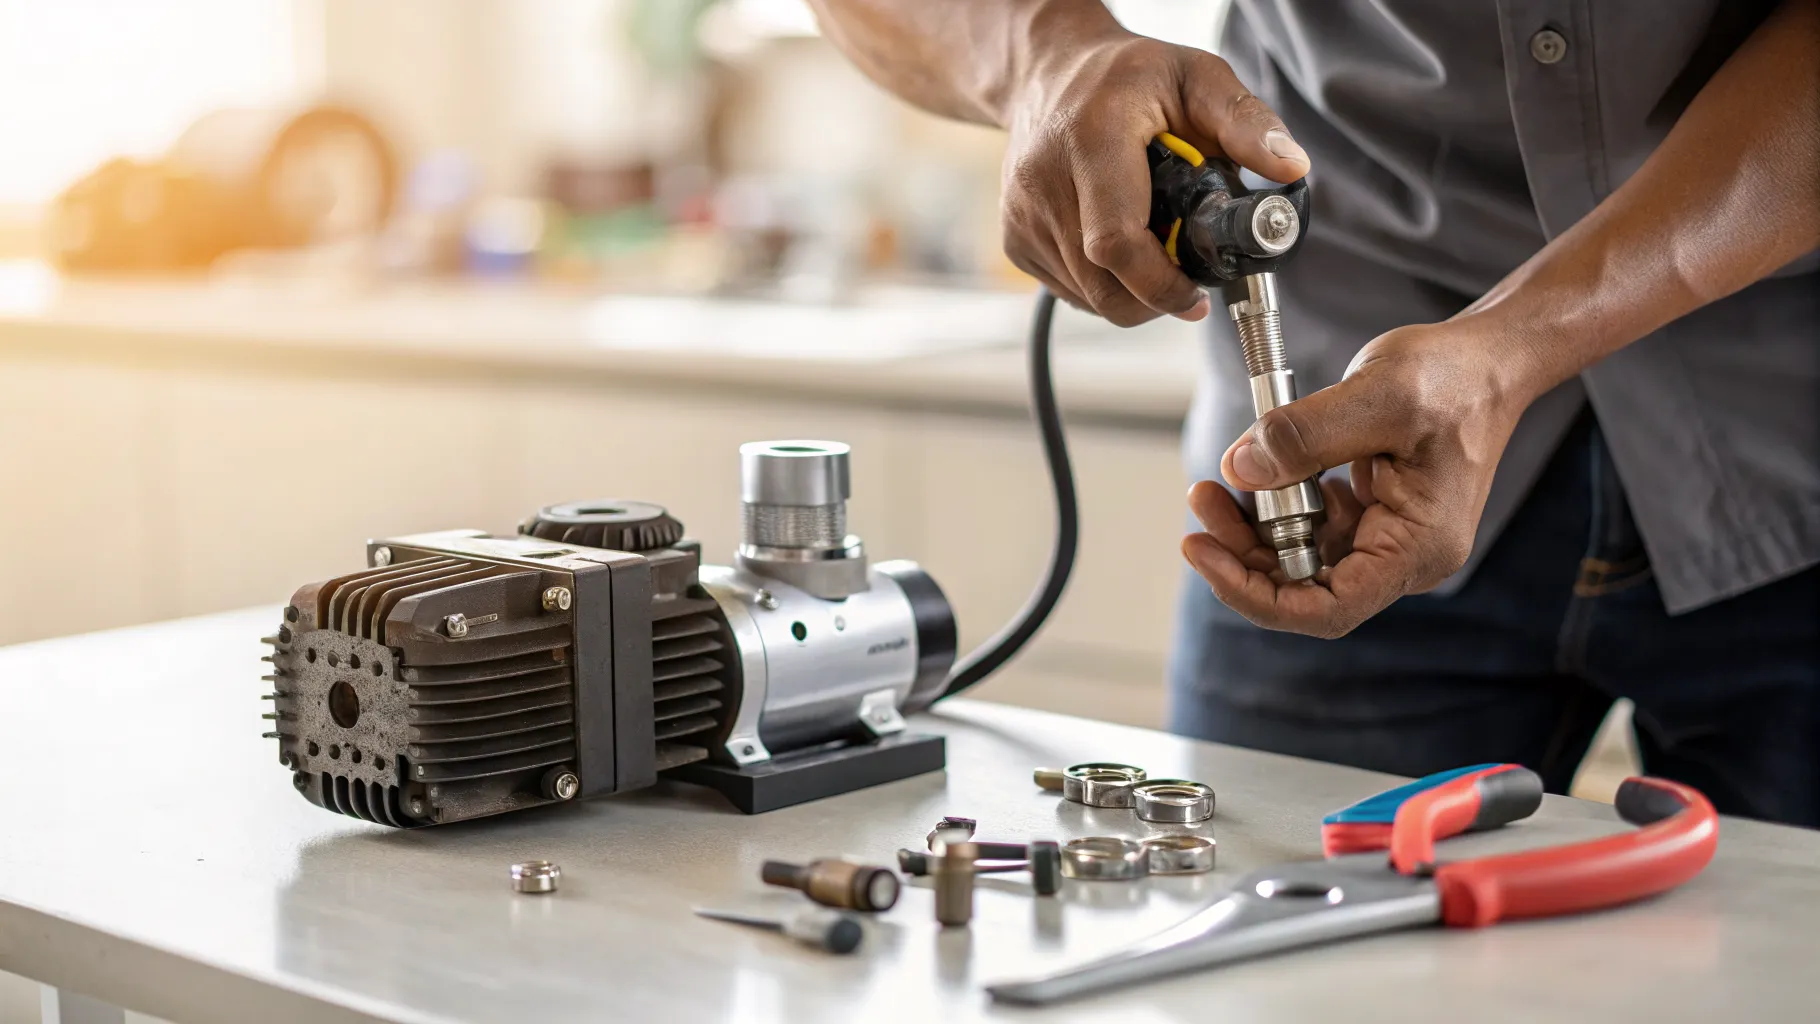
Tired of forgetting? Upgrade the drain valve
The most common drain failure isn’t technique, it’s forgetting. If the drain is a hassle or you just never remember, a hardware change fixes it.
Petcock (drain cock). The small, cheap valve standard on pancake and hot dog compressors. You turn a little handle or key. They work, but they clog and they’re easy to forget. A common thread size is 1/4 inch Male NPT, so replacements are simple to find.
Ball valve (1/4 inch Male NPT). A durable quarter-turn lever valve, nearly leak-free, sold as a direct petcock replacement. The big lever is easier to operate and far less prone to clogging than a petcock. It’s still manual, so you still have to remember, but it makes the job painless. Check the current price at a compressor parts supplier or major retailer.
Automatic drain valve (float or timer). Drains on its own at set intervals or pressure. Condensate fills a small reservoir, a float lifts off its seat, and a control-air signal drives a piston that opens a ported valve. More money and more parts, but it removes the human from the loop.
Electronic drain valve (EDV). A timer-controlled electronic solenoid drain. These automatically discharge condensate from receivers, dryers, filters, and similar points without you touching them; many units pair the electric drain with a manual blowdown valve and a strainer to keep debris from clogging it. This is the set-it-and-leave-it option for someone who never wants to think about draining again.
For a home shop, swapping a clog-prone petcock for a ball valve is a cheap, high-value upgrade. For a busy shop or a unit in a humid space, an automatic or electronic drain pays for itself in tank life.
Storage and winterizing
Before a compressor sits unused for weeks or over winter, drain the tank fully. Standing water during a long idle period is exactly the situation that rusts a tank from the inside, and freezing water makes it worse.
A common question: should you leave the drain valve open during storage? It’s acceptable only if the tank is fully depressurized first, and even then there are two real downsides. You’ll forget it’s open and the compressor won’t build pressure the next time you go to use it, and an open port lets bugs and dirt wander into the tank. If you do leave it open to keep it bone dry, hang a note on it. Either way, close it before the next use.
While you have the unit down for storage maintenance, it’s a sensible time to check related settings. If your cut-in and cut-out pressures have drifted, see how to adjust the air compressor pressure switch. If you’re rethinking the unit entirely, our guide on what size air compressor do I need covers sizing.
Frequently asked questions
How often should I drain my air compressor tank? Tank manufacturers like Ingersoll Rand say to drain daily, after each use, and before storage, and that’s the right answer for shop or humid-climate use. For light home use you can be realistic: weekly when you’re using it, and always before storage. The rule that actually matters is that more humidity and more running time produce more water, so drain more often in those conditions. OSHA requires “frequent” draining but, importantly, does not set a specific number.
Do I have to empty the tank completely, or can I leave some pressure? Get it below 10 PSI before you open the drain valve, for your safety. You don’t have to take it all the way to zero. A small amount of low residual pressure actually helps, because it blasts the water and sludge out of the drain port and prevents clogging. Always wear eye and ear protection and point the port away from people.
Why is the water from my tank rusty or brown? That’s normal. Most tanks are bare, untreated steel inside, so condensate picks up surface rust and comes out discolored. It’s about as common as dirty oil in an engine. Don’t panic over the color; act on it by draining regularly. Persistent heavy rust and sludge on an old, long-neglected tank is a different signal and a reason to consider replacing the tank.
Where is the drain valve located? At the lowest point of the tank, on the underside, because that’s where water collects. OSHA actually requires the drain to be installed at the lowest point of every air receiver. On small portable units it’s a petcock; on larger vertical tanks it’s often a quarter-turn lever.
Almost no water comes out when I drain it. Is that a problem? It can be either harmless or a clog. If you ran the unit briefly in a dry environment, little condensation is normal. But if the tank has been holding water and nothing drains, the petcock is probably clogged with rust and gunk, which is a common petcock failure. Depressurize, open or remove the valve fully, and clear the port; consider upgrading to a ball valve if it keeps happening.
Can I leave the tank pressurized between uses? Yes, as long as you’ve drained the water out. The danger is standing water corroding the steel, not the pressure itself sitting in a sound tank. Drain the condensate, then it’s fine to leave it charged.
Should I leave the drain valve open during storage? Only if the tank is fully depressurized first. Even then, you’ll likely forget it’s open (so it won’t build pressure next time) and an open port can let in bugs and dirt. If you leave it open to keep the tank dry over a long idle period, tag it with a note, and always close it before the next use.
Is rusty water a sign I need a new tank? Not by itself. Rusty water is normal for bare-steel tanks. The problem is that the dangerous corrosion happens on the inside wall and can’t be seen from outside, so you can’t judge a tank’s safety by appearance. If a tank is old, has sat full of water for years, and throws heavy rust every time, retire it. A replacement tank is cheaper than a rupture.
How do I bleed the pressure down safely before draining? Turn off and unplug the compressor, then watch the gauge drop below 10 PSI. To speed it up you can pull the ring on the ASME safety valve while wearing safety glasses, shielding the valve with one hand as you pull the ring with the other, since the release stirs up dust. Don’t open the main drain valve until you’re below 10 PSI.
More from Air Compressor Mag
Best Portable Air Compressors: Picks by Job (2026)
Real portable air compressor picks by job, from tire inflation to framing, with the CFM at 90 PSI, tank size, and noise specs that actually decide it.
Air Compressor Repair: Fix It by Symptom
Symptom-based air compressor repair: won't build pressure, won't start, won't shut off, trips the breaker, leaks, or oil in the line. Safe fixes.
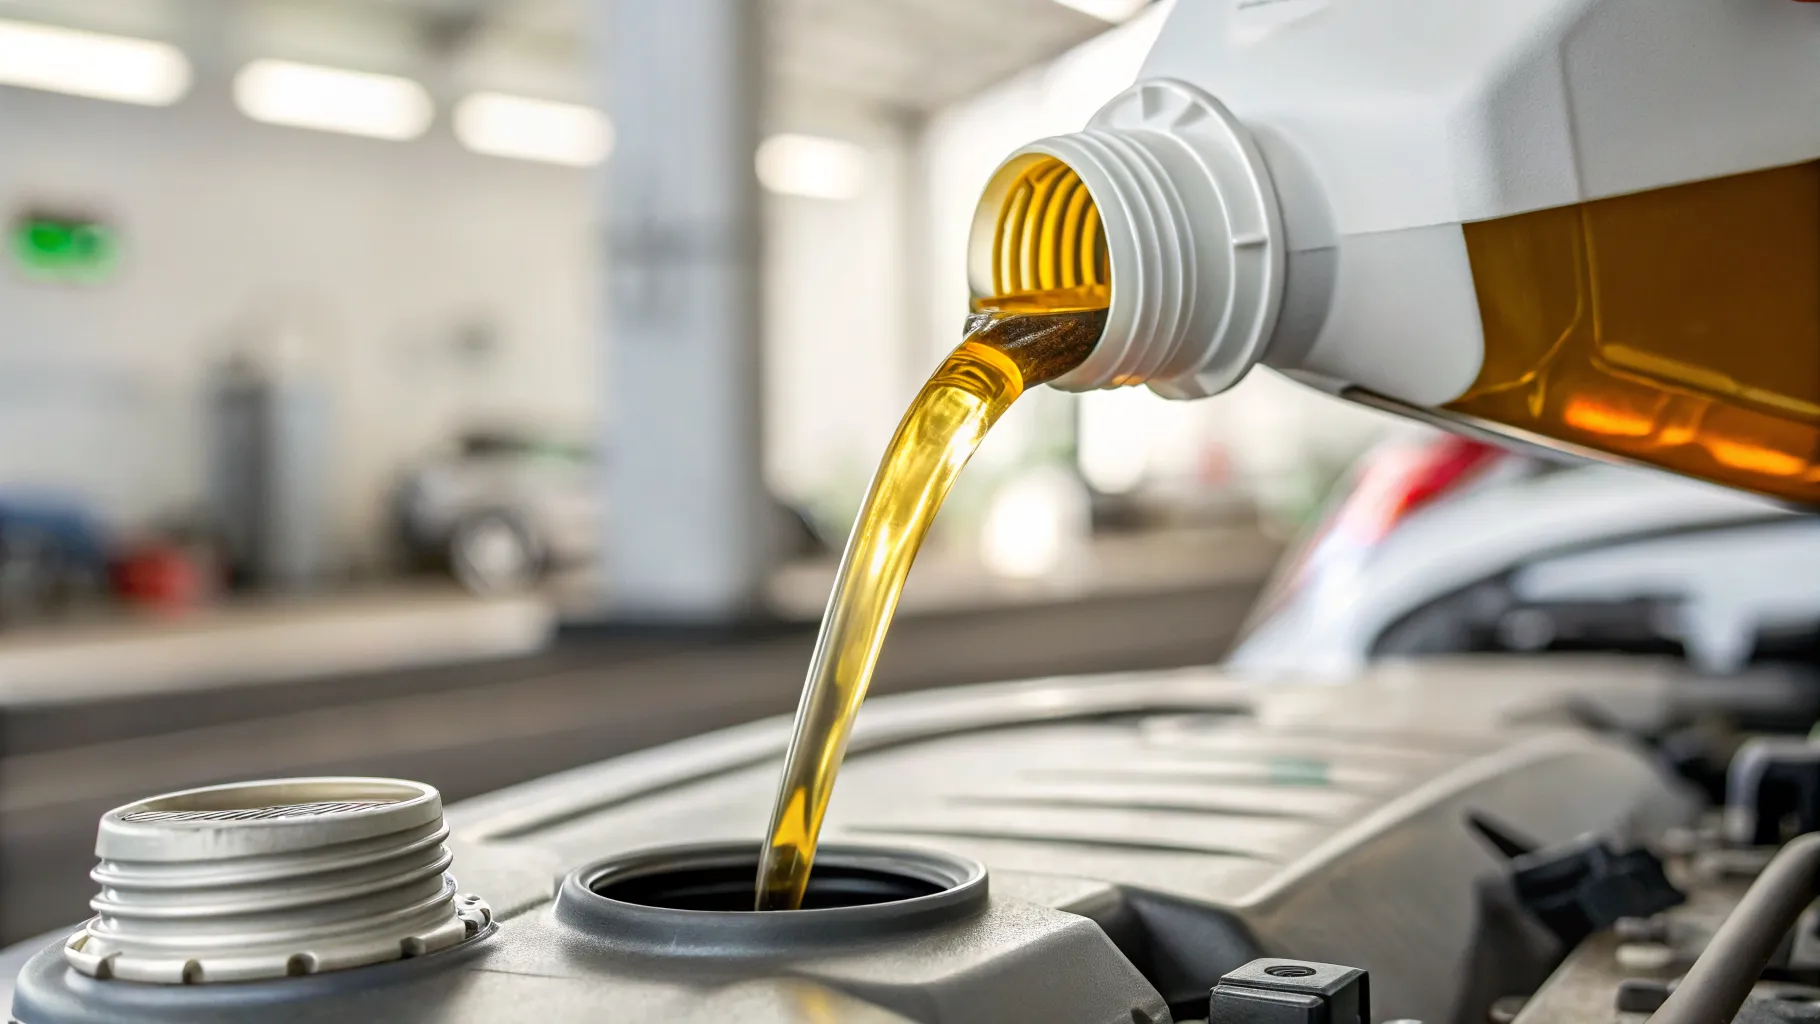
Air Compressor Oil: Which Type, How Often, and How to Change It
Use non-detergent SAE 30 (ISO 100) in most piston compressors, skip motor oil, and change it on hours not guesses. Named products and full steps.