Air Compressor Leaking Air: How to Find and Fix Every Leak
An air compressor leak is the most common fault on any shop compressor and, in almost every case, the cheapest to fix. It is also the one people most reliably misdiagnose, replacing an expensive pressure switch when the actual culprit is a check valve costing a fraction as much and sitting an inch away.
This guide covers how to find a leak precisely, what each location means, and the single leak that you must never attempt to repair.
Why it matters more than it seems
A compressor that cycles on by itself overnight is not just annoying. It is running the motor and pump for no work output, which shortens the life of both, wastes electricity, and pulls moisture-laden air through the system on every cycle. A leak that seems trivial adds up to a meaningful share of the machine’s duty cycle over a year.
If your compressor is also not building pressure, or takes far longer to fill than it used to, a leak is one of two likely causes. The other is worn piston rings or a failed valve plate in the pump, which is a different repair covered in our air compressor repair guide.
Step 1: Find the leak with the soap test
This takes ten minutes and removes all guesswork.
- Fill the tank to its cutout pressure, then switch the compressor off and unplug it.
- Leave the tank pressurized. You need pressure behind the leak to find it.
- Mix the solution. Dish soap and water, roughly one part soap to ten parts water, in a spray bottle.
- Spray everything. Every threaded fitting, the regulator, the pressure switch body and its ports, the check valve, the safety relief valve, the drain valve, the discharge tube connections at both ends, the gauges, and along every weld seam on the tank itself.
- Watch for bubbles. A growing foam or a stream of small bubbles marks the leak. Some leaks are slow, so give suspect areas thirty seconds.
Work methodically rather than jumping to the spot you suspect. Compressors frequently have two or three small leaks at once, and fixing the loudest one while leaving the others is why people repeat this job.
If nothing shows and the tank still loses pressure overnight, close the ball valve at the tank outlet and see whether the loss continues. If it stops, the leak is downstream in your hose or piping, not in the compressor at all.
Step 2: Fix by location
Threaded fittings
By far the most common finding, and the easiest fix. Depressurize the tank fully, back the fitting out, clean the threads, apply fresh PTFE thread seal tape wrapped in the direction the fitting tightens, and reinstall. Two to three wraps is right; a thick wad is not better and can crack a brass fitting.
Do not simply crank a leaking fitting tighter. Overtightening a tapered thread in a cast iron or aluminum port is how you turn a two-dollar problem into a cracked manifold.
Continuous hiss from the pressure switch after shutdown
This is the misdiagnosis. A brief puff of air from the small unloader tube on the pressure switch immediately after the motor stops is normal and correct: it bleeds the pressure off the top of the pump so the motor can restart against no load.
Continuous hissing from that point, with the tank holding pressure, means the check valve is stuck open. Tank air is escaping back through the pump and out the unloader. The pressure switch is doing exactly what it was designed to do; the valve that is supposed to stop tank air returning has failed.
The fix is to depressurize the tank completely, unthread the check valve from the tank, and inspect it. Rust flakes, pipe scale and carbon debris frequently prevent the disc from seating. Clean it and reinstall, or replace it, which is inexpensive. Our check valve guide covers the part in detail, and the pressure switch guide explains the unloader circuit.
If the hiss continues after a new check valve, then the pressure switch body or its port fittings are genuinely leaking, and the soap test will confirm which.
The drain valve
The drain at the bottom of the tank is a routine leak point, because it is the fitting most exposed to condensate, rust and mechanical knocks. A ball-type drain that will not seal usually has debris on the seat; open it fully under pressure to blow the debris clear, then close it. If it still leaks, replace it, since the part costs very little.
While you are there: if you are not draining the tank regularly, start. Standing condensate is what rusts a tank from the inside, and it is directly connected to the one failure you cannot repair. See how to drain an air compressor.
The safety relief valve
A relief valve that weeps continuously is either fouled or failed. Pull the ring briefly under pressure to flush debris off the seat. If it keeps leaking, replace it with an identical rating, and do not plug it, cap it, or substitute a higher-rated valve. It is the last line of protection against tank overpressure. Our relief valve guide has the detail.
The regulator and gauges
Leaks at the regulator are usually a perished diaphragm or O-ring, and most regulators have a rebuild kit available. Leaks at a gauge thread are the same fix as any other fitting: clean threads and fresh sealant.
Discharge tube and fittings
The copper or steel tube running from the pump head to the tank vibrates constantly and takes heat cycling. Check both compression or flare nuts, and inspect the tube for cracks near the bends. A cracked discharge tube must be replaced, not soldered.
The leak you must never repair
If the leak is in the tank shell itself, the compressor is finished. A pinhole from internal rust, a weeping weld seam, or any crack in the steel means the pressure vessel has lost integrity.
Do not weld it. Do not braze it. Do not use epoxy, tank sealer, or a self-tapping plug. A pressure vessel that fails does not spring a bigger leak, it ruptures, and the stored energy in a compressed air tank is enough to be lethal. Welding also destroys the heat treatment of the surrounding steel, so a repaired tank is weaker than the one that just failed.
Replace the tank, or replace the compressor. OSHA’s requirements for air receivers treat these as pressure vessels for good reason, and the same logic applies in a home garage where nobody is inspecting anything.
The practical warning sign, before a pinhole appears: heavy rust and scale coming out with the condensate when you drain the tank, and a drain valve that clogs repeatedly.
Preventing the next one
- Drain the tank after every use, or fit an automatic drain. Water is what kills tanks and fouls check valves.
- Use thread sealant on every joint you open, not just the ones that leaked.
- Fit a water separator downstream if you run air tools, which keeps moisture out of the distribution side. See our water separator guide.
- Repeat the soap test annually. It takes ten minutes and catches leaks before they become duty-cycle problems.
- Check the quick-connect couplers. They wear out, and they are outside the compressor so people forget to test them.
Frequently asked questions
Why does my air compressor leak air from the pressure switch? A short burst right after the motor stops is the unloader valve working normally. A continuous hiss with the tank holding pressure almost always means the check valve is stuck open, letting tank air escape back through the pump. Replace or clean the check valve before you touch the pressure switch.
How do I find an air compressor leak? Fill the tank, shut the unit off, unplug it, and spray a soap and water solution over every fitting, valve, gauge and weld seam. Bubbles mark the leak. Check the whole machine rather than stopping at the first one, since multiple small leaks are common.
Can I use thread tape to fix an air compressor leak? Yes, for threaded fittings, provided you depressurize the tank first, remove the fitting, clean the threads and apply two or three wraps in the tightening direction. Tape wrapped over an already-installed leaking fitting does nothing.
Is it safe to use an air compressor that leaks? A small fitting leak is not dangerous, though it wastes energy and cycles the motor unnecessarily. A leak from the tank shell, a weld seam, or a failed safety relief valve is not safe to run at all and means the unit should be taken out of service.
Why is my air compressor not building pressure? Either air is escaping as fast as it is made, which the soap test will show, or the pump is no longer compressing properly because of worn rings, a failed valve plate, or a leaking gasket. If the soap test finds nothing and the tank holds pressure once filled, suspect the pump.
Can a leaking air compressor tank be welded? No. A rusted or cracked tank is a compromised pressure vessel and welding it makes the surrounding steel weaker, not stronger. Sealants and plugs are equally unsafe. The tank must be replaced.
More from Air Compressor Mag
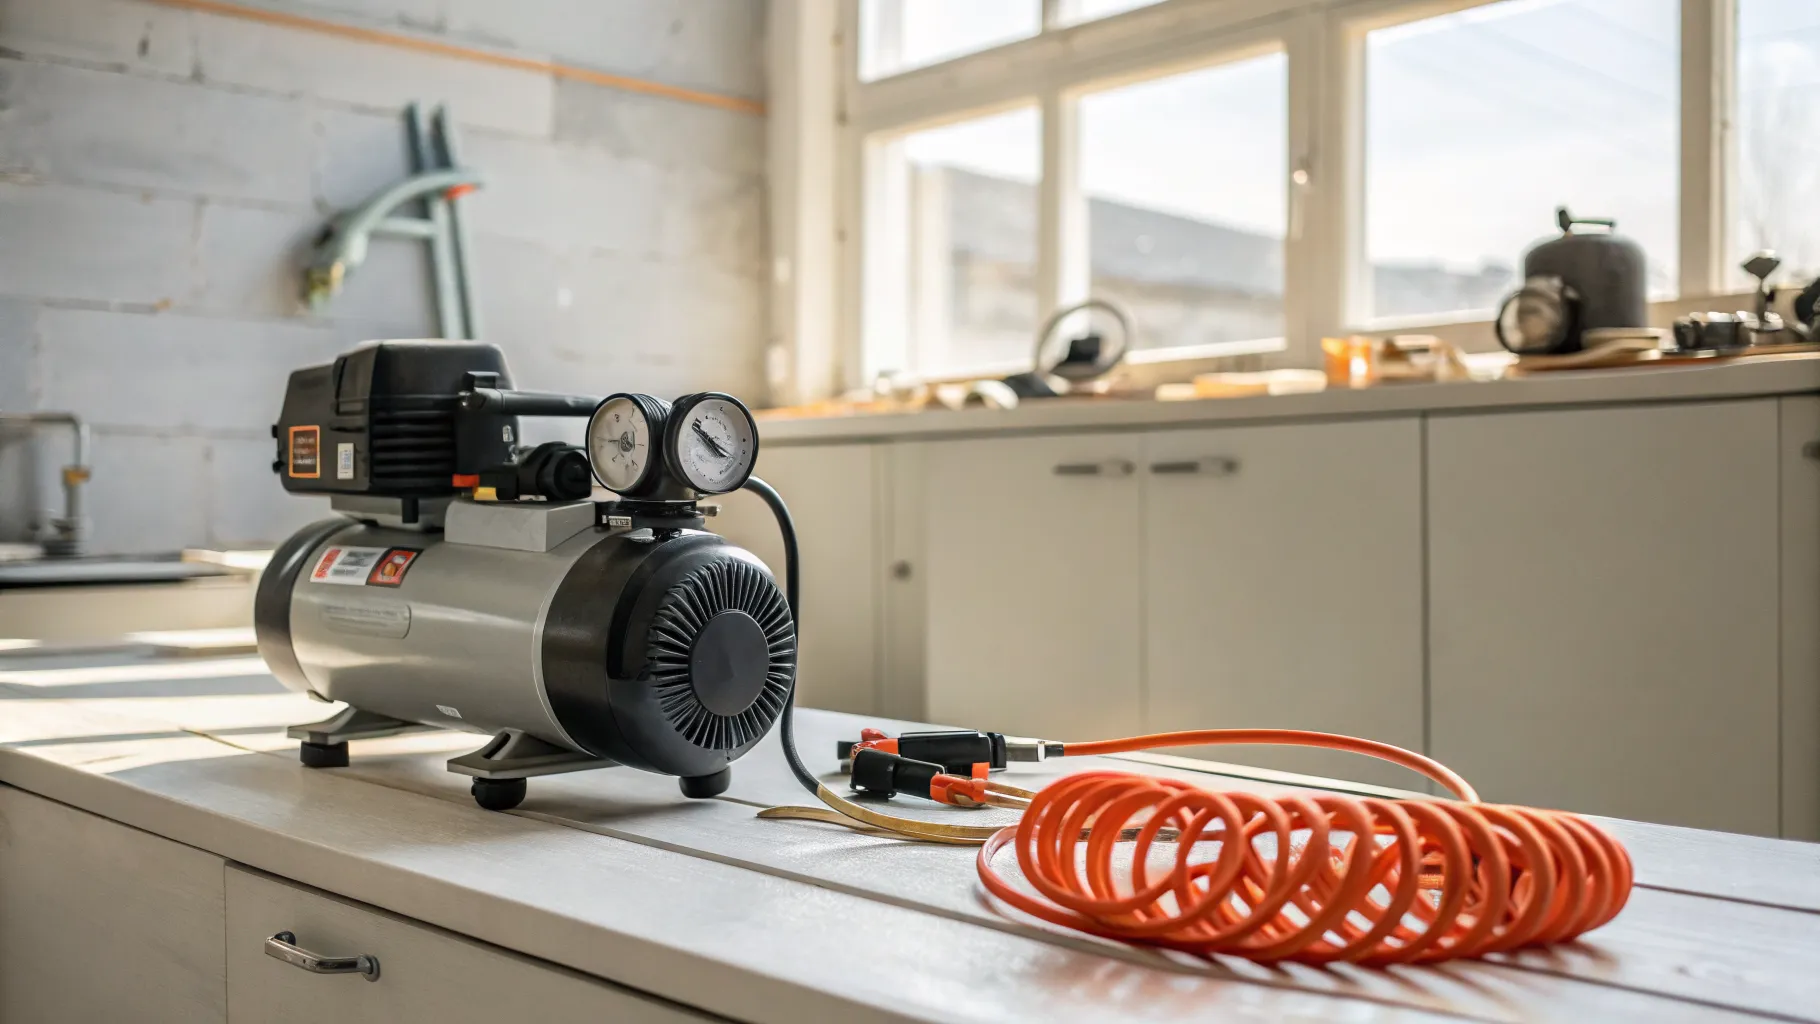
Best Portable Air Compressors: Picks by Job (2026)
Real portable air compressor picks by job, from tire inflation to framing, with the CFM at 90 PSI, tank size, and noise specs that actually decide it.
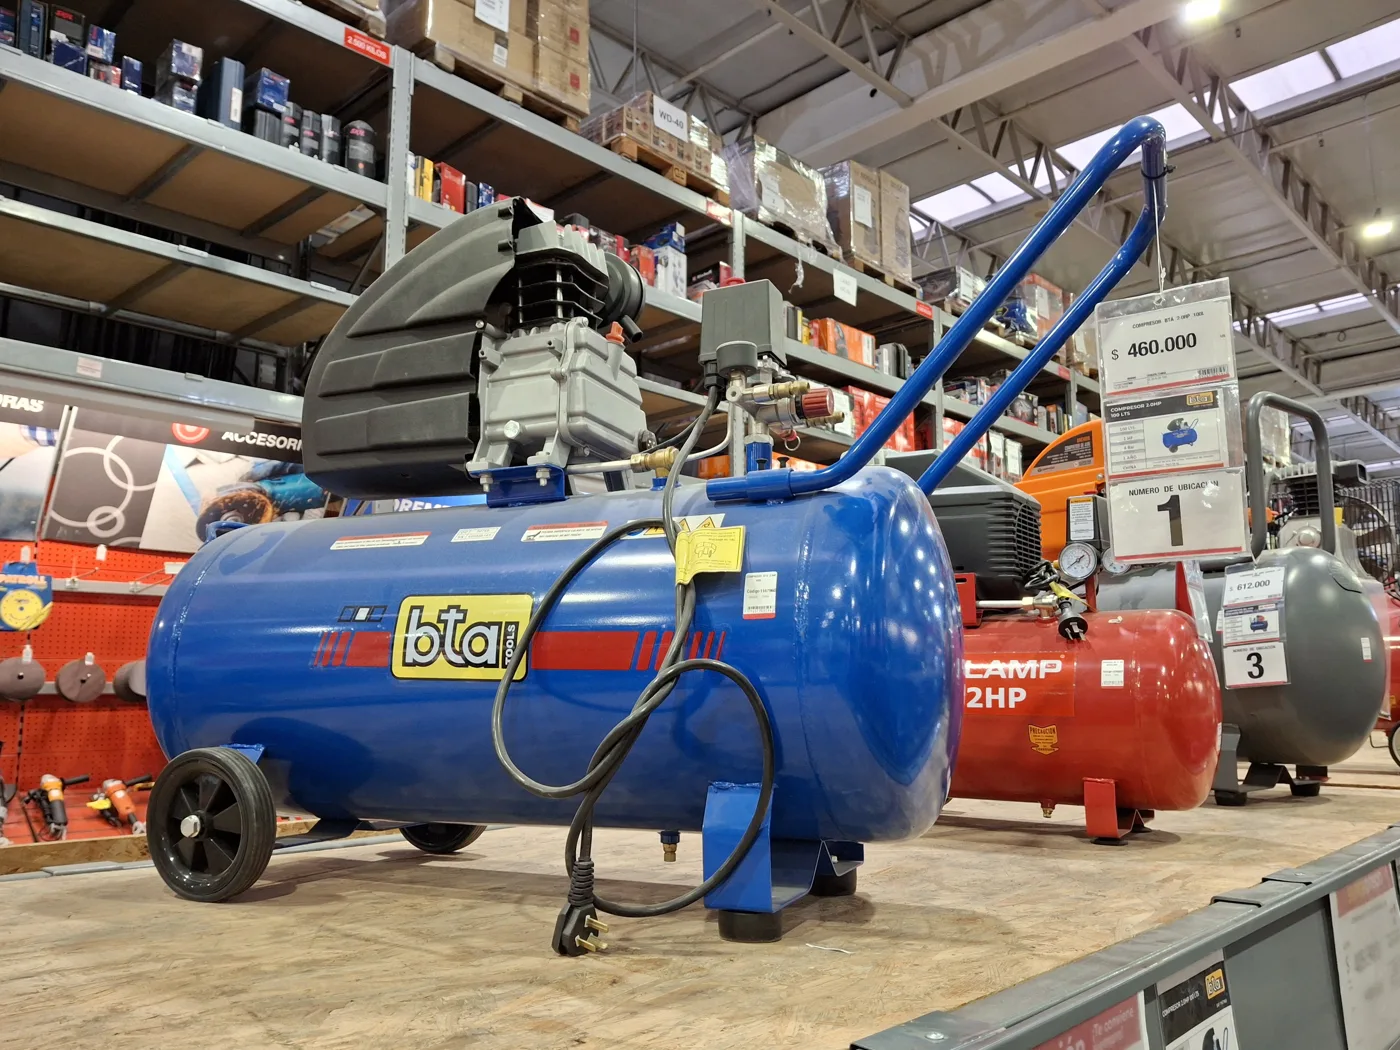
CFM Explained: How to Choose a High CFM Air Compressor for Your Tools
How to read CFM ratings and pick a high CFM air compressor: the 90 PSI standard, SCFM, a tool chart, and when you need 10, 20 or 50 CFM.
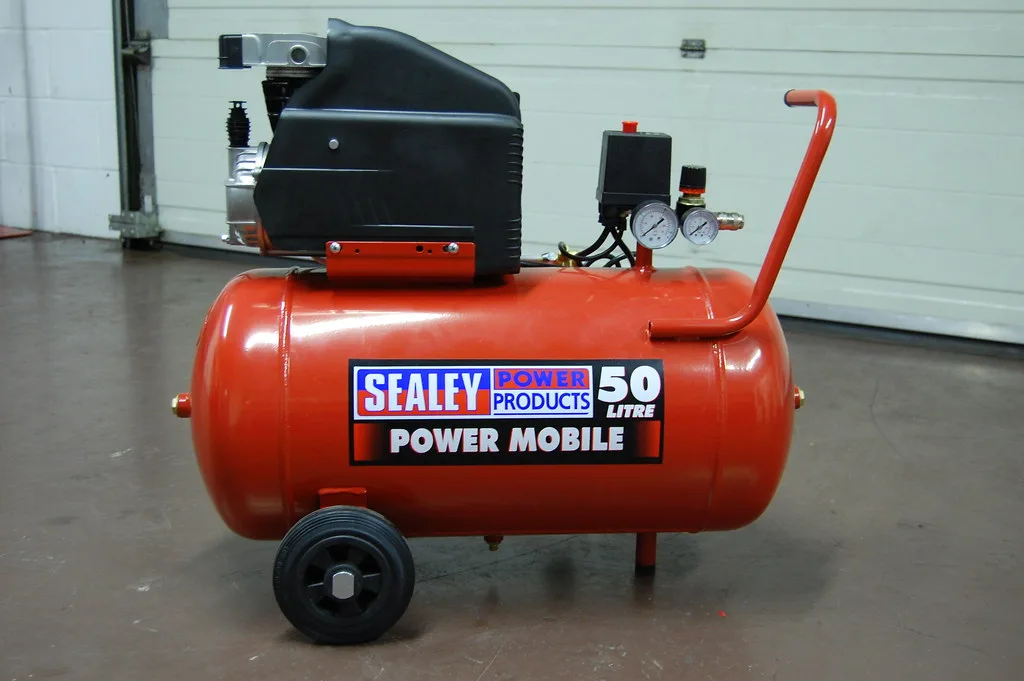
Best 30 Gallon Air Compressors for Workshops
The best 30 gallon air compressor picks for a home workshop, compared on CFM, max PSI, single-stage pumps and 120V wiring so you match the unit to your tools.